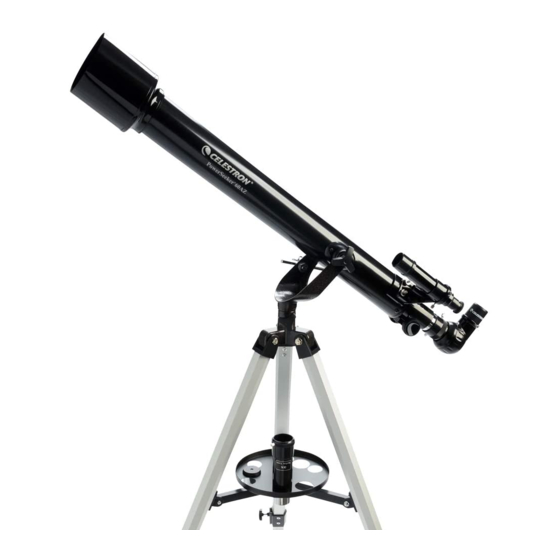
Celestron PowerSeeker 60AZ Gebrauchsanweisung - Seite 6
Blättern Sie online oder laden Sie pdf Gebrauchsanweisung für Teleskop Celestron PowerSeeker 60AZ herunter. Celestron PowerSeeker 60AZ 10 Seiten. Celestron powerseeker 60: quick setup
Auch für Celestron PowerSeeker 60AZ: Handbuch zur Schnelleinrichtung (2 seiten), Gebrauchsanweisung (9 seiten)

- 1. Table of Contents
- 2. Introduction
- 3. Assembly
- 4. Setting up the Tripod
- 5. Attaching the Telescope Tube to the Mount
- 6. Moving the Telescope Manually
- 7. Installing the Diagonal & Eyepiece (Refractor) - 60AZ & 70AZ
- 8. Installing the Diagonal & Eyepiece (Refractor) - 40AZ & 50AZ
- 9. Installing the Eyepiece on the Newtonian
- 10. Installing & Using the Barlow Lens
- 11. Installing & Using the 1.5X Erecting Eyepiece - 40AZ & 50AZ
- 12. Installing the Finderscope (Except 40AZ)
- 13. Aligning the Finderscope
A
SSembly
This section covers the assembly instructions for your
PowerSeeker telescope. Your telescope should be set up
indoor the first time so that it is easy to identify the various
parts and familiarize yourself with the correct assembly
procedure before attempting it outdoor.
Each PowerSeeker comes in one box. The pieces in the
box for all models are – optical tube, altazimuth mount,
and "The SkyX" CD-ROM. The 40AZ and 50AZ includes
S
T
eTTing uP The
riPod
1. Remove the tripod from the box (Figure 2-1). The tripod
comes preassembled so that the set up is very easy.
Each tripod is different for each model but looks
somewhat similar to the photos shown below.
2. Stand the tripod upright and pull the tripod legs apart
until each leg is fully extended and then push down
slightly on the tripod leg brace (Figure 2-2). The very top
of the tripod is called the tripod head (AZ mount).
3. Next, we will install the tripod accessory tray (Figure 2-3)
onto the tripod leg brace (center of Figure 2-2).
4. On the bottom of the tripod tray is a screw attached to
the center (except the 40AZ and 50AZ). The screw
attaches into a threaded hole in the center of the tripod
leg brace by turning it clockwise – Note: pull up slightly
on the tripod leg brace to make it easy to attach.
Continue turning the tray until hand tight – don't over
tighten the tray. The 50AZ is slightly different as you
unthread a small knob in the center of the tray (see
Figure 2-3a) and then put the tray over the threaded
hole and tighten the knob to secure the tray.
5. The tripod is now completely assembled
(Figure 2-4).
6. You can extend the tripod legs to the
height you desire. At the lowest level,
the height is about 27" (69 cm) and
extends to about 47" (119 cm). You unlock
the tripod leg lock knobs at the bottom of
each leg (Figure 2-5) by turning them
counterclockwise and pull the legs out to
the height you want and then lock the
knobs securely. A fully extended tripod
looks similar to the image in Figure 2-6.
7. The tripod will be the most rigid and stable
at the lower heights.
6
0.96" accessories – 20 mm eyepiece, 12 mm eyepiece
(50AZ only), 8 mm eyepiece (40AZ only), 4mm eyepiece
(50AZ only), 3x Barlow lens (2x Barlow with 40AZ), and
1.5x erecting eyepiece. The 60AZ, 70AZ and 76AZ
includes 1.25" accessories – 20 mm eyepiece (erect image
for 76AZ), 4 mm eyepiece, 3x Barlow lens, erect image
diagonal for 60AZ.
f
2-1
igure
f
igure
f
2-4
igure
f
igure
2-3
f
igure
f
2-5
f
igure
2-2
2-3
A
2-6
igure
