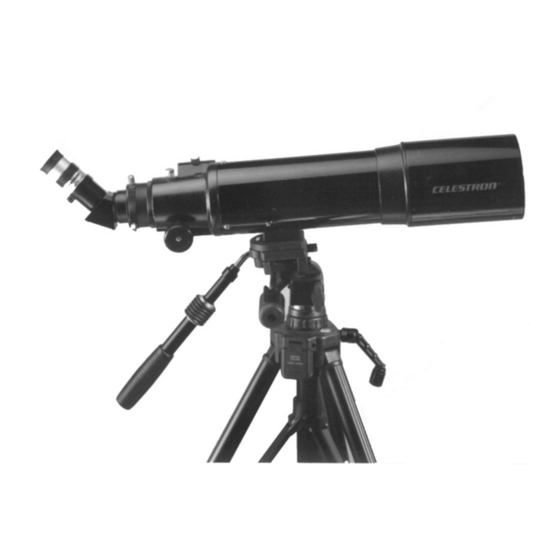
Celestron StarSeeker 80mm Gebrauchsanweisung - Seite 6
Blättern Sie online oder laden Sie pdf Gebrauchsanweisung für Teleskop Celestron StarSeeker 80mm herunter. Celestron StarSeeker 80mm 15 Seiten. F80 eq wa 80mm (3.1”) refractor telescope
Auch für Celestron StarSeeker 80mm: Gebrauchsanweisung (17 seiten)

3. TELESCOPE OPERATION -GETTING SET UP
A. Loosen the polar axis knob (near #5) with one hand while holding the equatorial mount with the other hand.
Look at the latitude scale (#19) and move the mount to the latitude of your location and then tighten the
polar axis knob. This only has to be done once unless you take the telescope to a different location. For
example, Los Angeles, California is located at about 34º. If you do not know your latitude, it can be found
on most road atlases of your area.
B. To change the direction your telescope is pointing:
1.
To move the telescope in declination (north/south) there are two options. For large and quick
movements, release the declination knob (near #4) and then tighten the knob when you are near the
position you want. For very small movements and fine adjustments, use the declination cable (#21).
The declination cable has a range of about 30º and if you come to the stop at the end then overshoot
your target by releasing the declination knob and move the telescope in declination. Then tighten the
knob and reverse the direction of the declination cable. Do not try to force movement when the
declination cable has reached the stop.
2.
To move the telescope in right ascension (east/west) there are two options. For large and quick
movements, release the right ascension knob (near #5) and then tighten the knob when you are near the
position you want. For very small movements and fine adjustments, use the right ascension cable.
C. The telescope should be properly balanced in order for it to move smoothly in both axes. Proper balance is
essential if using an optional motor drive for accurate tracking.
1.
To balance the right ascension axis, move the counterweight shaft so it is parallel (horizontal) to the
ground. Slowly release the right ascension knob (near #5) and see if the optical tube moves. If the
optical tube moves, then slide the counterweight up or down the counterweight shaft until the optical
tube remains stationary in the parallel position to the ground. When this happens, make sure the
counterweight lock is tight.
D.
To quickly move the telescope around horizontally
1.
Loosen the horizontal adjustment knob (#16), move the telescope to the position desired and then
tighten the knob.
E. To focus the telescope.
1.
Remove the front lens cover (#3).
2.
With a low power eyepiece tight in the diagonal (with its lens cover removed), position the telescope
tube to look at any object about one mile or further away during the day. You may need to use the
flexible cables to get the object in the center of the field. To focus, turn the focusing knob (#22) until
your chosen object is in sharp focus. Remember to use outdoors only as you should not look through
windows which may distort the image.
F.
Attaching the Finderscope:
This telescope uses a 6x30 finderscope which is easily attached to the dovetail mount. To attach the
finderscope:
1.
Attach the finderscope and bracket by sliding the rubber O-ring over the eyepiece end of the finderscope
and roll it 2/3 of the way up the finderscope. Then insert the eyepiece end of the finderscope through the
bracket until the O-ring presses tightly between the finder and the inside of the bracket. Tighten the three
adjustment screws until they make contact with the finderscope body.
2.
Slide the finder bracket (attached to the finderscope) into the mounting bracket on the telescope. Tighten
the set screw on the mounting bracket to hold the finderscope in place (see figure 3).
8
