Hidro-Water NEREO Handbuch für Benutzer und Installateure - Seite 7
Blättern Sie online oder laden Sie pdf Handbuch für Benutzer und Installateure für Medizinische Ausrüstung Hidro-Water NEREO herunter. Hidro-Water NEREO 13 Seiten.
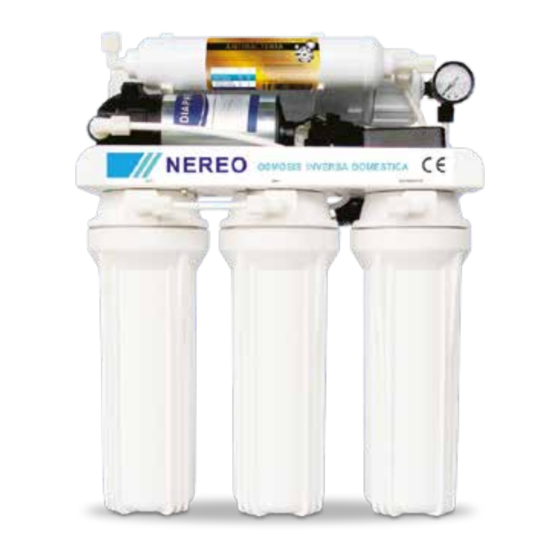
5.- OSMOSIS SYSTEM START-UP
a. Make sure that all the connections are connected properly and tightened. Also, make
sure the water inlet is closed. For NEREO osmosis system with pump connect it to a
main supply of 220 – 240V.
b. Release the ¼" tube that is connected to the osmosis system's pressure gauge by
unscrewing the nut and facing it towards a bucket or container.
c. Open the water supply and then the ball valve (Figure-14)
as shown. Make sure there is no water leak. If there is,
close the valve and fix it.
d. Let the water run until it's clear. This way we can make sure that there isn't any dust trapped
in the membrane that the granular carbon filter could have let off.
e. Close the brass ball valve at the water inlet (Figure-14) and reconnect the tube to the pressure
gauge by screwing on the corresponding nut.
f.
Open the brass ball valve again (Figure-14). Check for
leaks. If there are any, close the valve and fix them. If
there aren't, make sure that the valve to the storage tank
(Figure-15) is open. Also turn on the faucet until it starts to
drip. Close the faucet and wait 10 minutes. If the water has
a black colour, don't worry, this is normal, it's caused by
the powder that the granulated carbon filter lets off. Drain
this water. The water will run clear not long after this.
g. Turn the faucet on again. In doing so, a stronger flow of water than before will come out for a
while, then it will go back to dripping. Wait for about an hour/hour and a half with the faucet closed,
then turn it on to empty the water from the storage tank to remove a chemical product that has
MA-EN-OSMOSIS NEREO-RO-0206-XX-PSM-21-V01.0
12
Open position
Open position
come from the membrane which is used to protect them from microbiological contamination.
This product isn't dangerous but could affect the taste. Repeat this task twice more.
h. Turn the faucet off.
i.
The system is now ready for use.
CONGRATULATIONS! YOUR SYSTEM IS ALREADY FULLY INSTALLED AND RUNNING
6.- INSTALLATION & MAINTENANCE
The installer should inform the family members of the following points of the Reverse
Osmosis System:
a. Location of the water inlet, storage tank valve, faucet, drain clamp and the plug that
connects to the mains supply of 220-240 V (only for osmosis systems with pump).
b. Uses for purified water (cooking, to make coffees & teas, drinking, ice cubes, ironing,
fish tanks...)
c. Maintaining the osmosis system. The recommended maintenance of the osmosis
system is in the table below. By not following the maintenance as described in this
manual, using original cartridges and by authorized personnel that guarantees the
quality of the water produced and the correct operation of the osmosis system,
the warranty will be void.
Sediments
Carbon GAC
Cartridge type
cartridge
cartridge
Stage
1
2
st
nd
Reference
CA-1203-02
CA-0604-08
Appearance
Replace*
6 - 9 months
6 - 9 months
Every time you change a cartridge, the membrane or a component in contact with water or
Sanitation
if you haven't consumed water in over a month, you must sanitise the system using
the Sanitising kit (OI-0207-131). Not supplied with the system.
MA-EN-OSMOSIS NEREO-RO-0206-XX-PSM-21-V01.0
Carbon CTO
Membrane
Postfilter
cartridge
3
4
5
rd
th
th
CA-0608-03
ME-2002-02
OI-0205-20
6 - 9 months
2 – 3 years**
12 months
13