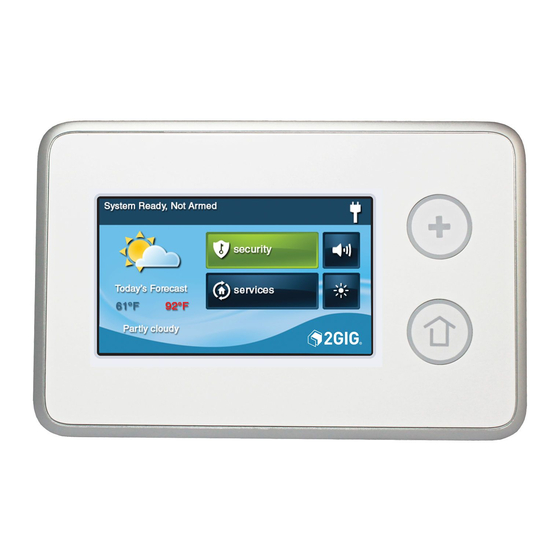
2gig Technologies TS1 Kurzanleitung - Seite 3
Blättern Sie online oder laden Sie pdf Kurzanleitung für Tastenfeld 2gig Technologies TS1 herunter. 2gig Technologies TS1 5 Seiten. Touch screen wireless keypad
Auch für 2gig Technologies TS1: Einbauanleitung (2 seiten)

LEARNING/PAIRING THE KEYPAD WITH THE
CONTROL PANEL
1
Make sure that the Control Panel has power using the supplied AC
adapter and confirm that the adapter is connected.
A Control Panel without the 900 MHz Transceiver
WARNING:
installed cannot communicate with the TS1.
Make sure that the TS1 has power from the supplied AC transformer.
2
Connect the AC adapter to the TS1. Confirm that the wires are
connected using the correct polarity.
As the TS1 powers up, the following message is visible on the display.
3
From the Control Panel's Installer Toolbox, select System
4
Configuration.
5
Select the Go To button.
6
To go to question 4, enter 04.
Select the RF Keypad number to assign to the TS1. Use the → arrow
7
to select the RF Keypad number (1‐4). After selecting the RF Keypad
number, press the ↓ arrow to start configuring the specific
parameters for the RF Keypad.
Press the → arrow or press the number 1 on the keypad toggle the
8
se ng on the first ques on to "used". Press the ↓ arrow to con nue
configuring options.
9
Set the RF Keypad Equipment Code to 1059 by pressing the ↓ arrow
until "(1059) 2GIG‐TS1 wireless touchscreen keypad" appears. Press
the ↓ arrow to advance to the next op on.
Learn the TS1 into the Control Panel. A er pressing the ↓ arrow in
10
the previous step, the Learn button appears.
INITIATING THE PAIRING PROCESS
Initiate the pairing process at the Control Panel by pressing the Learn
button.
On the Control Panel press the Learn button.
1
©2013 2GIG Technologies Inc. All Rights Reserved.
3
