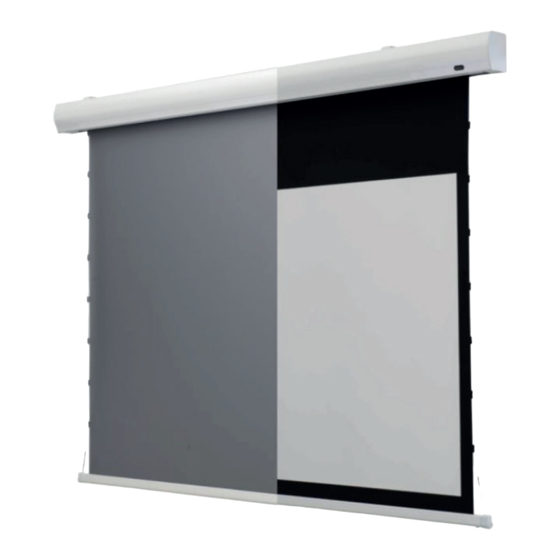
Celexon HomeCinema Electric Tension screen Betriebshandbuch - Seite 6
Blättern Sie online oder laden Sie pdf Betriebshandbuch für Projektor-Zubehör Celexon HomeCinema Electric Tension screen herunter. Celexon HomeCinema Electric Tension screen 11 Seiten.
Auch für Celexon HomeCinema Electric Tension screen: Betriebsanleitung (14 seiten)

Installing the screen
2. Lift the screen housing with two people and insert it carefully into the
mounting bracket. Make sure that the housing profiles engage in the hooks of
the mounting brackets. Now slowly slide the housing downwards and release
it only when the housing is actually held by the bracket.
1. Hold the housing in
front of the bracket and
push it from below with
the upper edge against the
bracket head so that the
bracket is located in the
housing groove.
Ceiling mounting - Option 2
ATTENTION! Make sure that you use a stable surface
1. For installation on a solid stone / concrete ceiling,
please use the plastic dowels (i). Determine the
position of the mounting brackets (b) according
to the housing dimensions and the height of the
projection screen. Draw a straight line to install
the two mounting brackets ensuring they are le-
vel. Mount the eyelets (k) on the upper part of the
bracket. Use the eyelet on the mounting bracket
as a template and mark the holes with a pencil on
the ceiling. Drill holes according to the markings
with an 6mm drill, insert the dowels into the holes
and insert an M6 hook. Then hang the screen with
the eyelets on the hooks.
2. Slide the housing
towards the wall until
it sits on the hooks.
5
3. Once the housing is
securely seated on the
bracket, tighten the lower
safety screw clockwise.
This closes the bracket
and makes the screen
secure.
