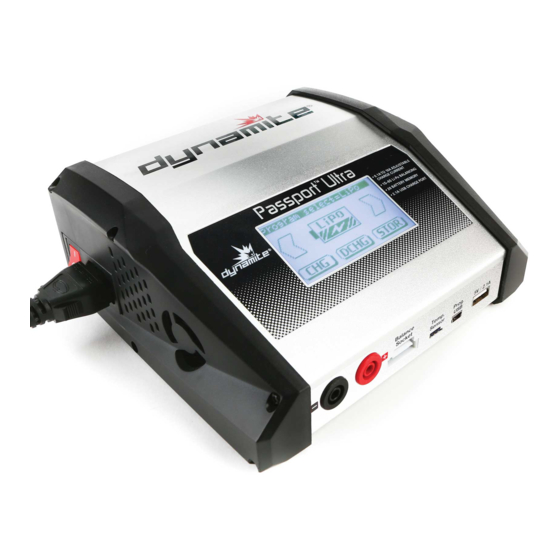
Dynamite Passport Ultra 220W Installationshandbuch - Seite 7
Blättern Sie online oder laden Sie pdf Installationshandbuch für Batterieladegerät Dynamite Passport Ultra 220W herunter. Dynamite Passport Ultra 220W 10 Seiten. 100w lcd ac/dc multi-chemistry battery charger

9 - PB DISChArgINg
1. Connect the banana plugs of the battery adapter cable to the Power Output Black (–)
and Power Output Red (+), making sure that the positive and negative connectors are not
reversed.
2. Connect the battery connector to the battery adapter cable.
3. Press the Left and Right Arrows on the LCD Touch Screen to scroll through the main menu
screens until you reach Program Select=Pb.
Program select=Pb
CHG
4. Press DCHG.
Pb DISCHARGE
Pack. Volt.
Capacity
Current
Press&Hold
5. Press a parameter to highlight that parameter.
6. Press the Up and Down Arrows to edit the parameter.
7. Press Select to save the parameter.
8. Once the parameters are at the desired settings, press and hold DISCHRG.
9. The charger will check the battery and charger settings and display the following screen:
Pb DCHG Confirm
-Connect-
Input • • • • OK
BATT. • • • • OK
10. Press START. The charger will beep and display the following screen:
Pb DCHG
Capacity
Current
Voltage
Resistance
Peak Temp.
11. Press the arrow in the top right of the LCD Touch Screen to see the rest of the discharging
information.
12. Press Graph to see the battery voltage graph. Press Back to return to the Discharging screen.
Data Pb
11.54V
13. Press STOP at any time to stop discharging.
14. When discharging is complete, the charger will sound a series of beeps and display the
following screen:
Pb DONE
Capacity
Current
Voltage
Resistance
Peak Temp.
15. Disconnect the battery from the charger.
7
DCHG
:
2V/1P
:
50mAh
:
0.1A
:
DISCHRG
-Check-
Set: 6P
Read: 5P
000:19S
:
8mAh
:
1.7A
:
11.60V
:
****mΩ
:
No sens
= Graph
BACK
000:32S
000:19S
:
8mAh
:
1.7A
:
11.60V
:
****mΩ
:
No sens
10 - SETUP
1. Press the Left and Right Arrows on the LCD Touch Screen to scroll through the main menu
screens until you reach Program Select=Setup.
Program select=Setup
2. Press SETUP.
USER SETUP
Temp (ºC/ºF)
Temp Cutt-Off :
Input Low Volt :
Safety Timer
Balance Volt
BACK
3. Press a parameter to highlight that parameter.
4. Press the Up and Down Arrows to edit the parameter.
5. Press Select to save the parameter.
6. Press the top right of the LCD Touch Screen to get to the next set of parameters.
Parameters
Temperature °C/°F
Temperature Cutoff 68–176°F (20–80°C)
Input Power Low Voltage Cutoff 10.0V–15.0V
Safety Timer 1–720 minutes
Balance Voltage 0.01V–0.03V
Back Light OFF–100%
Button Sound ON/OFF
Buzzer Sound ON/OFF
Buzzer Volume 0–100%
Username Enter your name here
Factory Reset
11 - VIEW
1. Press the Left and Right Arrows on the LCD Touch Screen to scroll through the main menu
screens until you reach Program Select=View.
Program select=View
VIEW
2. Press VIEW. The screen will display the current charger status.
DATA VIEW
Input Volt
Output Volt
Int Temp.
Ext Temp.
Resistance
3. Press CELLS to view the connected lithium battery's individual cell voltage.
DATA VIEW–CELLS
1 > 0.00
2 > 0.00
3 > 0.00
4 > 0.00
5 > 0.00
6 > 0.00
SETUP
[1/3]
:
ºC
60ºC
10.0V
:
240min
:
0.01V
SELECT
Melody 1–5
Version
Press and hold FCTY RST to return the charger
to default factory settings.
BALANCE
:
15.30V
:
0.02V
:
29ºC
:
No sens
:
****mΩ
BACK
