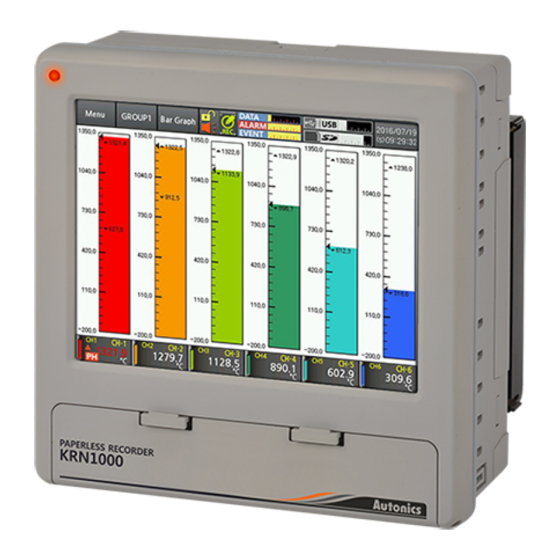
Autonics KRN1000 Series Benutzerhandbuch - Seite 10
Blättern Sie online oder laden Sie pdf Benutzerhandbuch für Messgeräte Autonics KRN1000 Series herunter. Autonics KRN1000 Series 15 Seiten. Lcd touchscreen paperless recorder
Auch für Autonics KRN1000 Series: Gebrauchsanweisung (2 seiten), Gebrauchsanweisung (2 seiten)

-|Transparent setting guide|-
Functions
Reservation
It sets reservation recording time to start and finish recording.
Touch [Menu]-[System Info.]-[Reservation].
Set reservation recording type; repeat, single.
Repeat
Records from the start time to end time at every day
during start date to end date. If start time is later of end
time, it records and saves until end of next day.
Single
Records from the start date and time to end date and time.
Digital Input
It sets digital input operation mode and status to operate for
DI-1/2 input.
Touch [Menu]-[Option Info.]-[Digital Input].
The operation mode and status are as below.
DI-
Type
Set the operation type for digital input.
(None, Rec/Stop, Alarm Reset, Alarm ON, Capture)
DI-
Status
Set digital input operation status.
(only when DI type is set as 'Record/Stop')
• Edge: When supplying digital input over 0.3 sec,
the recording starts. When resupplying it, the
recording stops.
• Level: When shorting digital input over 0.3 sec, the
recording starts. When opening it, the recording
stops.
Alarm Reset/ON
• Alarm Reset
When DI type is set as 'Alarm Reset', select the desired
relay to reset the alarm.
• Alarm ON
When DI type is set as 'Alarm ON', select the desired
relay to turn ON the alarm.
Summer Time
Set the summer time duration.
Set enable to summer time and designate start date and
end date of summer time at [Menu]-[System Info.]-[Date/
Time].
Screen Capture
It saves current screen as *.bmp file. Set file storage
location and file name.
Storage setting range: Internal, SD/USB memory
Internal memory saves the set number of screen captures
at [Menu]-[Memory Info.]-[Internal Memory].
High/Low-Limit Graph Scale Value
In case of temperature sensor input (thermocouple, RTD),
set the graph scale value to set the desired record range.
Therefore, it helps to record as curve at the desired range.
LCD Touchscreen Paperless Recorder
Display Scale
For analog input, this function is to set (-9999.9 to 9999.9)
for particular high/low-limit value in order to display high/
low-limit value of measurement input. If measurement
inputs are 'a' and 'b' and particular values are 'A' and 'B', it
will display a=A, b=B as below graphs.
Display
Display
value
value
B
A
a
b
Input
value
Display
Display
value
value
B
A
a
b
Input
value
Display scale function is able to change display value for
max./min. measured input by setting high-limit scale and
low-limit scale.
Set high/low-limit scale at [Menu]-[Input CH Info.]-[Input/
Display].
E.g.) Setting high/low-limit scale value
(In case of input type, -60 to +60mV)
• Low Scale (low-limit scale value) = 0.0
• Hi Scale (high-limit scale value) = 10.0, 20.0, 30.0, -20.0
Display
value
30.0
20.0
10.0
-60mV
60mV
-20.0
• Low Scale (low-limit scale value) = 20.0
• Hi Scale (high-limit scale value) = -20.0
Display
value
20.0
-60mV
60mV
-20.0
• Low Scale (low-limit scale value) = -20.0
• Hi Scale (high-limit scale value) = 20.0
Display
value
20.0
-60mV
60mV
-20.0
※ When changing input type, high/low-limit scale is
changed as factory default display range of the set
input type
.
Display
B
value
B
A
a
b
a
b
A
Input
Input
value
value
Display
value
A
a
b
a
b
A
B
B
Input
Input
value
value
U-13
