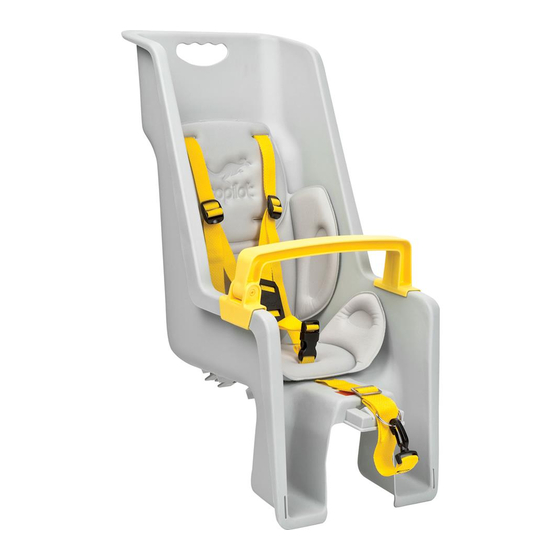
CoPilot LIMO 7053001 Gebrauchsanweisung und Sicherheitshandbuch für den Besitzer - Seite 4
Blättern Sie online oder laden Sie pdf Gebrauchsanweisung und Sicherheitshandbuch für den Besitzer für Zubehör für Fahrräder CoPilot LIMO 7053001 herunter. CoPilot LIMO 7053001 19 Seiten. Child seats

INSTALLING EXPEDITION 1 RACK
Parts List:
2 – 18 mm Buttonhead Screws
6 – 10 mm Buttonhead Screws
2 – 25 mm Buttonhead Screws
8 – Nylock Nuts
2 – Extenders
2 – 1/2" Seat-Stay Clamps
2 – 9/16" Seat-Stay Clamps
1 – Re ector Bracket
1 – 3 mm Allen Wrench
Step 1 Attach extenders to rack
using four 10mm button
head screws and nylock
nuts. Do not tighten.
Note:
Extenders have an offset twist
and can be installed in wide
or narrow position to match
seat stay width.
Step 2 Spread rack struts to t on
the outside of bike frame.
Attach rack to frame using
18mm screws. Do not tighten.
Note:
Some bikes may have
insuf cient clearances
between the high gear
(smallest cog) of the rear
freewheel and the inside of
the dropout to permit
installation of the nylock nut.
In this case, install the hardware in the reverse order
with the nylock nut on the outside. You will need to
remove the rear wheel of the bike in order to install
the screw from the inside. The lower pro le of the
screw head should provide suf cient clearance.
Step 3 Attach extenders to the bike frame "Braze-on"
mounts with 25mm buttonhead screws. Bend
extenders (by hand or with an adjustable wrench) to
align with braze-on mounts.
Note:
For bicycles without seat stay "Braze-ons" use vinyl
coated Seat-Stay Clamps (2 sizes included). Attach
with 10mm screws and nylock nuts.
2
english
Step 1
Re ector
10mm
Bracket
Screw
Extender
Nut
Struts
Braze-on
Rear View
Step 2
18mm Screw
Dropout
Nut
Step 3
Wide
Narrow
25mm
Nut
Screw
Step 3 (Note)
10mm
Screw
Seat-Stay
Clamps for bikes
without (braze-ons)
Step 4
Adjust rack until rack top is level with ground by
sliding it on extenders until level. Tighten all rack
screws & nuts.
Step 5
Install re ector bracket over rack and tighten with
re ector and re ector screw from your bicycle.
WARNING! Do not modify rack or bicycle. If rack will not
!
t on your bicycle, consult your local dealer or call 1-800-
456-2355 for assistance. Periodically check all nuts and bolts
for tightness
INSTALLING EXPEDITION 1 DISC RACK
Parts List:
6 – 10 mm Buttonhead Screws
2 – 25 mm Buttonhead Screws
8 – Nylock Nuts
2 – Extenders
2 – 1/2" Seat-Stay Clamps
2 – 9/16" Seat-Stay Clamps
1 – Re ector Bracket
1 – 3 mm Allen Wrench
Step 1 Attach extenders to rack
using four 10mm button
head screws and nylock
nuts. Do not tighten.
Note:
Extenders have an offset twist
and can be installed in wide
or narrow position to match
seat stay width.
Step 2 Remove rear quick release.
Spread rack struts to t on the
outside of the dropouts. Install
extra long quick release
supplied with rack. Follow your
bicycle/wheel manufacturer
recommendations for
removing and installing quick
releases or have a quali ed
bicycle shop replace it for
you.
Step 3 Attach extenders to the bike frame "Braze-on" mounts with
25mm buttonhead screws. Bend extenders (by hand or
with an adjustable wrench) to align with braze-on mounts.
Step 1
10mm Screw
Re ector Bracket
Extender
Nut
Quick
release
rod
Step 2
Step 3
Narrow
Wide
25mm
Nut
Screw
Step 3 (Note)
10mm
Screw
Seat-Stay
Clamps for bikes
without (braze-ons)
