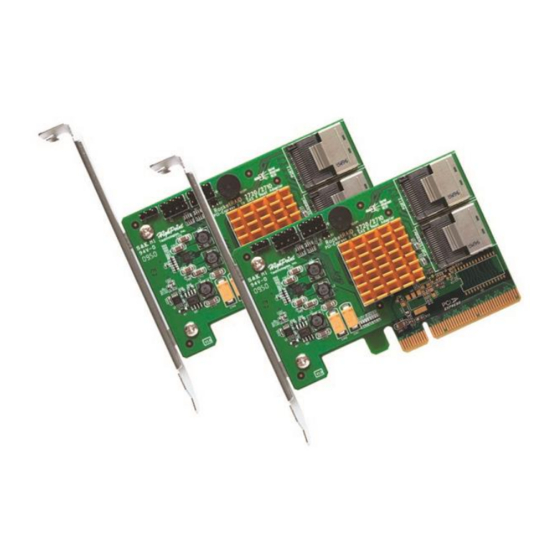
HighPoint RocketRAID 2720C2 Handbuch zur Schnellinstallation - Seite 5
Blättern Sie online oder laden Sie pdf Handbuch zur Schnellinstallation für Host-Adapter HighPoint RocketRAID 2720C2 herunter. HighPoint RocketRAID 2720C2 8 Seiten.

Driver Installation (Windows)
Download the corresponding driver package from the official RocketRAID 2720C2 website.
Extract the contents to a directory of your choice.
1)
After installing the RocketRAID host adapter, boot to the Windows operating system.
Windows should automatically detect the card, and displays the "Found New Hardware
2)
Wizard". Select "Locate and install driver software". When Windows asks: "Windows needs
your permission to continue", select.
"Continue".
3)
When asked to search online select "Don't Search Online".
4)
Select "I don't have disc, show me other options".
5)
And then select "Browse my computer for driver software".
6)
Browse to the location of the driver and click "Next".
7)
When asked: "Would you like to install this driver software?" select "Install".
8)
9)
Reboot the system when prompted. The RocketRAID host adapter will be ready for use after
Windows reboots.
Please consult the software copy of the RocketRAID 272x/271x User Guide for in-depth
installation procedures.
WebGUI Installation (Windows)
Download the corresponding WebGUI package from the official RocketRAID 2720C2 website.
Extract the contents to a directory of your choice.
Double-click "Setup.exe" to start installation. If you are running a 64-bit version of Windows,
1)
you may need to right-click the icon, and select "Run as Administrator."
Click "Run" to continue. The HighPoint Web RAID Management Service install screen will
2)
display. Chick "Next" to continue.
Click "Yes" to install the Management Utility.
3)
Specify the Destination folder and click "Next". Confirm the install location, and click
4)
"Next".
Select the SAF-TE configuration file for the system's chassis. If the system does not support
5)
SAF-TE, select the default option "Skip and Configure Later".
6)
Specify the listening port. 7402 is the default setting, and recommended for most systems.
7)
Choose to enable or disable Remote Access. Remote access allows the card to be managed
via a Web browser from a separate system.
Click "OK" to complete the installation procedure.
8)
5
