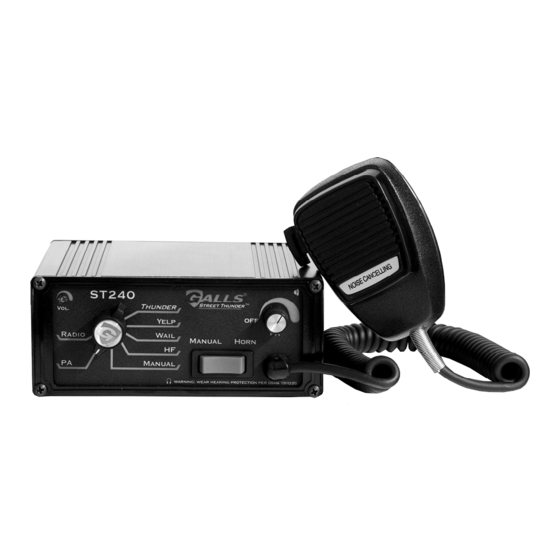
Galls ST160 SIREN Installations- und Betriebsanleitung - Seite 6
Blättern Sie online oder laden Sie pdf Installations- und Betriebsanleitung für Verstärken Galls ST160 SIREN herunter. Galls ST160 SIREN 12 Seiten. Siren amplifier
Auch für Galls ST160 SIREN: Installations- und Betriebsanleitung (7 seiten)

Installer Selectable Options
The ST240 has several options that can be selected prior to installation by using
either the two DIP switches located on the
back of the unit, or by using the "tone
programming" button on the back in
combination with the knob and/or buttons on
the front of the unit. These options should be
set before installing the siren in the vehicle.
DIP Switch Settings:
Auxiliary AND Park-Kill Input Polarity
The Auxiliary input (terminal #7) and Park Kill input (terminal #12) are normally
activated by applying a positive voltage to each wire. If you would like to activate
either function by connecting to ground (negative) instead, use the DIP switches
located on the back of the siren.
The default setting for both switches (Positive Switching)
is such that the DIP switches are flipped AWAY from the
closest edge of the siren (i.e. DOWN in the picture to
the right). To have either function activated when the
input is grounded, flip the corresponding switch in the
opposite direction (TOWARDS the edge of the siren/UP).
Optional Tone Programming
The ST240 will produce 7 different tones/sounds by activating its various functions:
Function
Thunder Step Up
(THUNDER+MAN)
THUNDER
YELP
WAIL
MANUAL
HORN
AUX
Each of these functions can be reprogrammed for a different tone, if desired. To
change the sounds for any of the functions, proceed below.
1. Power the unit up.
2. Activate the function you wish to change.
• To change the tone for the THUNDER, WAIL, and YELP functions, rotate the
selector knob into the corresponding position.
• For the MANUAL, HORN, or AUX functions, rotate the selector knob into
the MANUAL or PA position, then press and hold the MANUAL button,
HORN button, or steering wheel horn, respectively.
• For the Thunder Step Up function, rotate the knob into the THUNDER
position, then press and release the MANUAL button.
The tone currently programmed for that function will sound.
3. The Tone Program button can be found above the DIP
switches on the rear of the siren. Using a paper clip, press and
release it to cycle through the list of optional tones. Review
the chart on the following page for a list of optional tones.
4. De-activate the function to save the new tone.
Default Tone
Two-Tone
Thunder
Yelp
Wail
Ramp Up
Air Horn
Air Horn
-4-
NEG
POS
Tone Program Button
