highwood Bespoke Deep Seating Montageanleitung - Seite 8
Blättern Sie online oder laden Sie pdf Montageanleitung für Inneneinrichtung highwood Bespoke Deep Seating herunter. highwood Bespoke Deep Seating 8 Seiten.

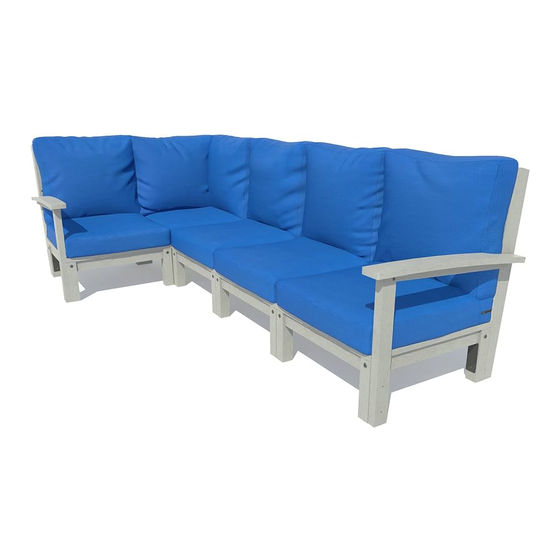
Building a Corner
1) Attach the left (M2), right (M3), and corner (M5)
metal brackets to the legs of the seat base as shown
using (2) B screws in each left and right bracket, and
(4) B screws in the corner bracket.
Drilling 1/8" pilot holes first will assist in driving the
screws. To do so, hold each bracket in place and mark
each screw location on the seat base. Remove the
bracket and drill a 1" deep hole at each location.
2) Attach one back assembly to
brackets M2 and M5 on the seat base
using (3) B screws on each side.
Drilling 1/8" pilot holes first will assist
in driving the screws.
3) Attach the second back assembly to
brackets M5 and M3 on the seat base
using (3) B screws on each side.
Drilling 1/8" pilot holes first will assist
in driving the screws.
4) To attach two backs together in a
corner, align each back as shown.
Locate the hole drilled mid-way up
each back upright. Place bracket M4 as
shown and secure using (2) E bolts.
For information on Care and Cleaning or to Register your
highwood product, please visit www.highwood-usa.com.
M2
B
M2
SEAT BASE
E
SEAT BASE
B
M3
M5
BACK
SEAT BASE
M3
M5
BACK
M3
B
M5
BACK
E
M4
AD-DS-KIT
08.25.2021
Page 8 of 8
