Galvanic Isolator Gi-120/A Anleitung Handbuch - Seite 2
Blättern Sie online oder laden Sie pdf Anleitung Handbuch für Schiffsausrüstung Galvanic Isolator Gi-120/A herunter. Galvanic Isolator Gi-120/A 7 Seiten.

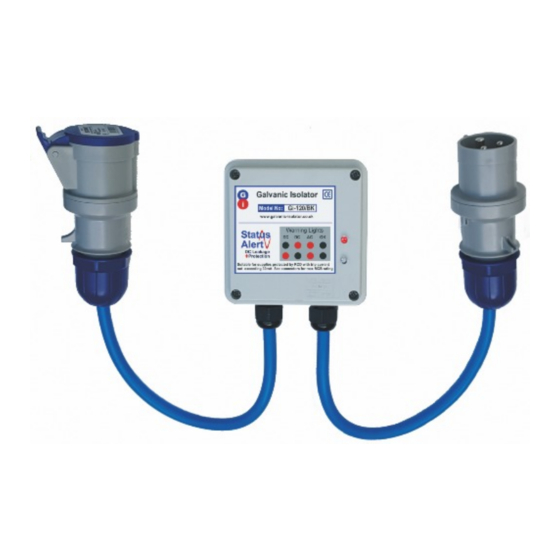
Galvanic Isolator
G
Gi-120/A
i
The galvanic isolator protects your
boat from corrosion caused by
galvanic and leakage currents that
arise due to chemical inter- actions between your
boat and nearby boats/structures and bank- side.
The Galvanic Isolator simply connects to EITHER end of your shore line. It can be connected either
at the boat end or the shore end. Both options work equally well.
Installation - Fixing the Isolator
Locate a suitable position for the isolator, ideally protected from excess heat,
moisture etc.
The cable entries must point downward. Although the isolator is protected against
water, it is still wise to keep it, and the connectors as dry as possible.
The Isolator may be mounted to practically any flat surface.
The most secure method of mounting is to use the screw positions inside the isolator enclosure.
Alternatively, it can be fixed using either a mastic type adhesive, or a double sided adhesive tape
available from all DIY stores. If mounting using adhesive, please ensure that surfaces are sound,
clean and dry. Support the isolator until adhesive has fully set, and use cable clips to prevent undue
stress on the adhesive.
Fixing Points
Circled Red
Gi-120/BK
Locate your isolator where it will not be subjected to excessive heat,
physical damage or water ingress, particularly the plug & socket.
(Rain is acceptable - immersed or in running water is not).
When installed, to avoid water ingress, we strongly advise that the
cable entries to the isolator the connectors should point downwards.
If using screws, remove the isolator lid, taking care not to stretch the
internal wiring. The lid may be disconnected for ease of access. To
disconnect, pull the CONNECTORS apart. Do NOT pull the cables!
Carefully drill the screw positions in each corner of the enclosure. Drill
JUST large enough to accept the mounting screws you will use.
Mark the screw positions on the surface to which the isolator is to be
mounted, and pilot drill or drill & tap holes as neccessary.
Fix with chosen screws, taking care not to overtighten, as this could
damage the enclosure.
To prevent water ingress, apply a small amount of sealant on the rear of
the isolator at the screw positions, and fix the isolator to the surface.
Continued...
