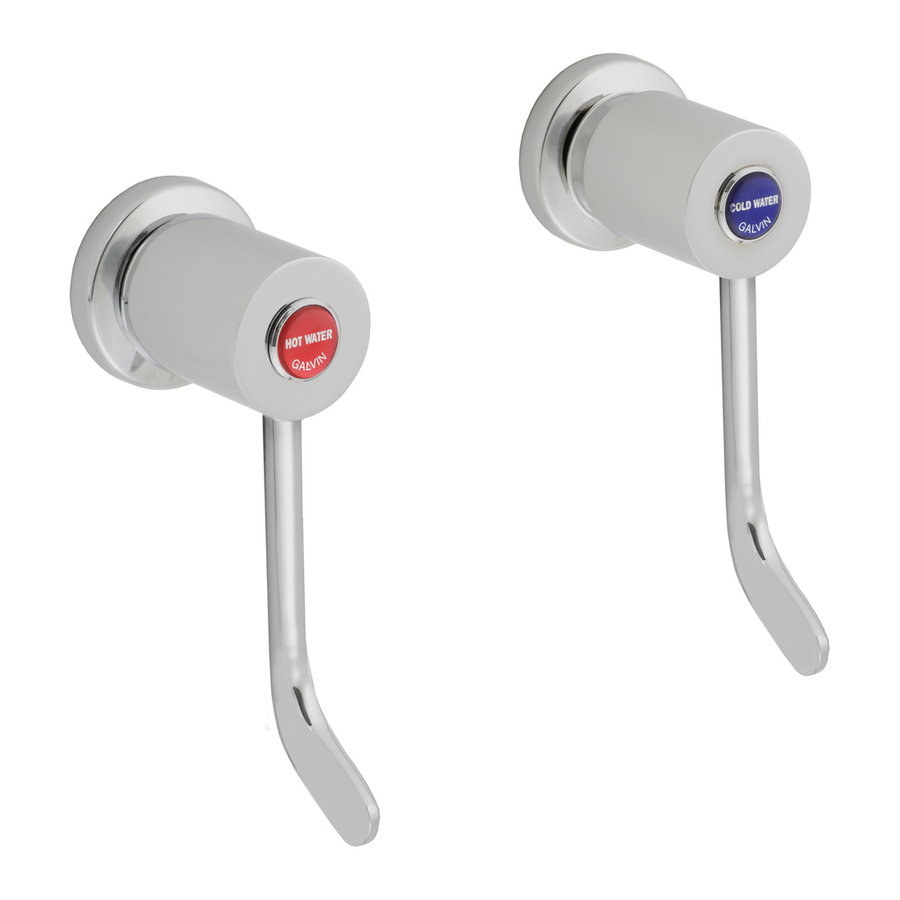
Galvin Specialised CliniLever TCWTJ150PC Produkt-Installations-Manualline - Seite 2
Blättern Sie online oder laden Sie pdf Produkt-Installations-Manualline für Küche & Badarmaturen Galvin Specialised CliniLever TCWTJ150PC herunter. Galvin Specialised CliniLever TCWTJ150PC 4 Seiten. Healthcare tapware

INSTALLATION
IMPORTANT: Galvin Specialised products must be installed in accordance with these installation instructions and
in accordance with AS/NZS 3500, the PCA and your local regulatory requirements. Water and/or electrical supply
conditions must also comply to the applicable national and/or state standards. Failing to comply with these
provisions shall void the product warranty and may affect the performance of the product.
1. Fit spindle assembly
−
Remove handle and flange from spindle
assembly.
−
Ensure jumper valve and fibre washer are fitted to
spindle assembly.
−
Screw entire assembly into the wall body.
−
Fasten securely using a spanner.
3. Fit handle
−
Ensure the spindle is in the closed position and
firmly press the CliniLever
the spindle in the desired orientation.
−
®
Check CliniLever
lever handles for operation. It
should turn freely for a full ¼ turn.
−
Secure the handle in position using the supplied
washer and stainless steel cap screw.
2. Fit wall flange
4. Fit water temperature indicator & testing
®
lever handle onto
−
Ensure o-ring is fitted to the bottom of the wall
flange, and then hand-tighten the wall flange
onto the threaded sleeve.
−
®
Once CliniLever
lever handle is secure; fit the
appropriate water temperature indicator.
−
Once temperature indicator is fitted, check the
operation of the unit and inspect for any leaks.
