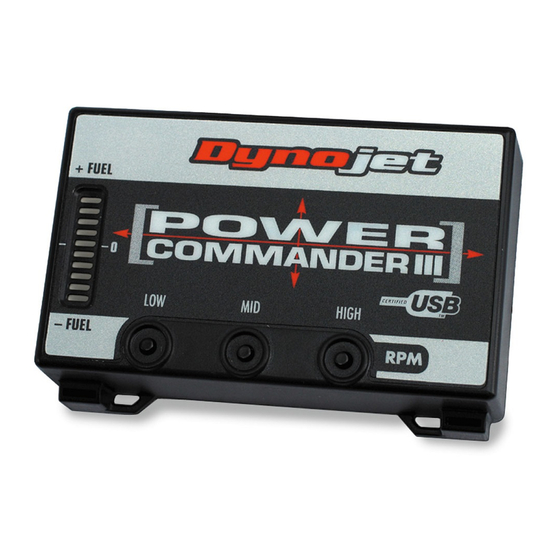
Dynojet Power Commander 3 Einbauanleitung - Seite 2
Blättern Sie online oder laden Sie pdf Einbauanleitung für Zubehör für Motorräder Dynojet Power Commander 3 herunter. Dynojet Power Commander 3 2 Seiten. For 2006-2008 suzuki m109r / c109r
Auch für Dynojet Power Commander 3: Einbauanleitung (3 seiten), Einbauanleitung (4 seiten)

Stock connectors
Ground wire from PCIII
i310-211
www.powercommander.com
Unplug this connector
PCIII connectors
1)
Remove the seat.
2)
Remove the left hand side over.
3)
Disconnect the fuel injector con-
nector shown in Fig. A. This
connector is located on the left
hand side of the bike just behind
the airbox.
4)
Plug the connectors from the
Power Commander in line of
these connectors. (Fig. B)
5)
Connect the ground wire from
the Power Commander to the
negative side of the battery
(Fig. C).
6)
Mount the Power Commander
in the rear trunk area using the
supplied velcro strips.
7)
Reinstall the side cover and
the seat.
2002-2004 Suzuki GSX 1400 - PCIII - 2
