Dynojet Power commander V Einbauanleitung - Seite 4
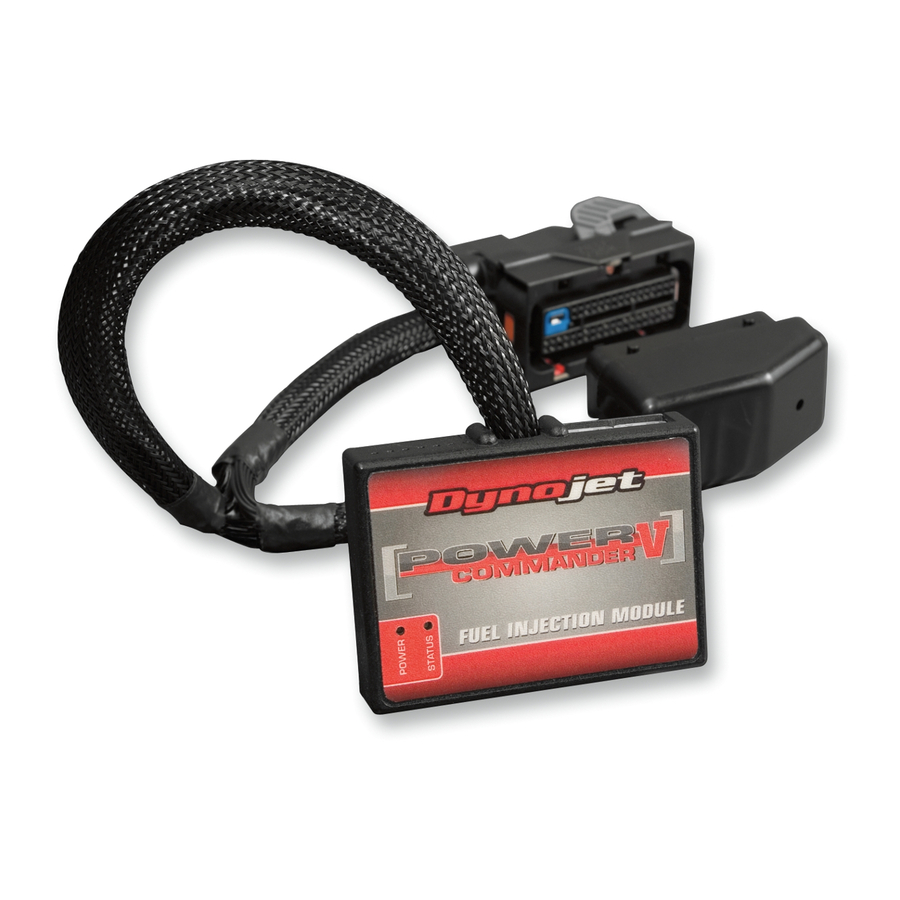
Blättern Sie online oder laden Sie pdf Einbauanleitung für Zubehör für Kraftfahrzeuge Dynojet Power commander V herunter. Dynojet Power commander V 5 Seiten. 2017-2018 polaris scrambler 1000, 2017-2018 polaris sportsman 1000
Auch für Dynojet Power commander V: Installationsanleitung Handbuch (6 seiten), Installationsanleitung Handbuch (9 seiten), Installationsanleitung Handbuch (7 seiten), Einbauanleitung (4 seiten), Einbauanleitung (5 seiten), Einbauanleitung (4 seiten), Einbauanleitung (5 seiten), Einbauanleitung (4 seiten), Einbauanleitung (5 seiten), Installationsanleitung Handbuch (6 seiten), Installationsanleitung Handbuch (6 seiten), Einbauanleitung (5 seiten), Installationsanleitung Handbuch (6 seiten), Einbauanleitung (5 seiten), Installationsanleitung Handbuch (6 seiten), Einbauanleitung (5 seiten), Einbauanleitung (5 seiten), Installationsanleitung Handbuch (7 seiten), Einbauanleitung (5 seiten), Einbauanleitung (4 seiten), Installationsanleitung Handbuch (6 seiten), Einbauanleitung (4 seiten), Einbauanleitung (5 seiten), Installationsanleitung Handbuch (6 seiten), Installationsanleitung Handbuch (8 seiten), Einbauanleitung (4 seiten), Installationsanleitung Handbuch (7 seiten), Installationsanleitung Handbuch (6 seiten), Installationsanleitung Handbuch (8 seiten), Einbauanleitung (4 seiten), Installationsanleitung Handbuch (6 seiten), Einbauanleitung (4 seiten), Einbauanleitung (4 seiten), Installationsanleitung Handbuch (6 seiten), Einbauanleitung (5 seiten), Einbauanleitung (5 seiten), Installationsanleitung Handbuch (6 seiten), Installationsanleitung Handbuch (6 seiten), Installationsanleitung Handbuch (6 seiten), Installationsanleitung Handbuch (7 seiten), Installationsanleitung Handbuch (6 seiten), Installationshandbuch (5 seiten), Installationsanleitung Handbuch (6 seiten), Installationsanweisungen und Bedienungsanleitungen (8 seiten), Installationsanweisungen und Bedienungsanleitungen (6 seiten), Installationshandbuch (4 seiten), Installationshandbuch (7 seiten), Installationshandbuch (6 seiten), Installationsanleitung Handbuch (6 seiten), Installationsanleitung Handbuch (6 seiten), Einbauanleitung (5 seiten), Einbauanleitung (5 seiten), Installationsanleitung Handbuch (6 seiten), Installationsanleitung Handbuch (8 seiten), Installationshandbuch (5 seiten), Installationshandbuch (9 seiten), Installationshandbuch (4 seiten), Einbauanleitung (4 seiten), Installationsanleitung Handbuch (6 seiten), Installationsanleitung Handbuch (7 seiten), Installationsanleitung Handbuch (7 seiten), Einbauanleitung (5 seiten), Installationsanweisung (7 seiten), Einbauanleitung (4 seiten), Einbauanleitung (4 seiten), Einbauanleitung (5 seiten), Einbauanleitung (5 seiten), Installationsanleitung Handbuch (6 seiten), Einbauanleitung (5 seiten), Installationsanleitung Handbuch (5 seiten), Installationsanleitung Handbuch (6 seiten), Installationsanleitung Handbuch (7 seiten), Einbauanleitung (4 seiten), Installationsanleitung Handbuch (7 seiten), Einbauanleitung (5 seiten), Einbauanleitung (4 seiten), Einbauanleitung (4 seiten), Einbauanleitung (4 seiten), Einbauanleitung (5 seiten), Einbauanleitung (5 seiten), Einbauanleitung (5 seiten), Einbauanleitung (4 seiten), Einbauanleitung (5 seiten), Einbauanleitung (4 seiten), Einbauanleitung (4 seiten), Installationshandbuch (6 seiten), Einbauanleitung (4 seiten), Einbauanleitung (5 seiten), Installationsanleitung Handbuch (7 seiten), Einbauanleitung (4 seiten), Einbauanleitung (5 seiten), Einbauanleitung (5 seiten), Installationshandbuch (6 seiten), Einbauanleitung (4 seiten), Installationsanleitung Handbuch (7 seiten), Installationsanleitung Handbuch (6 seiten), Einbauanleitung (4 seiten), Installationsanleitung Handbuch (6 seiten)