Gama Sonic GS-114P Gebrauchsanweisung - Seite 2
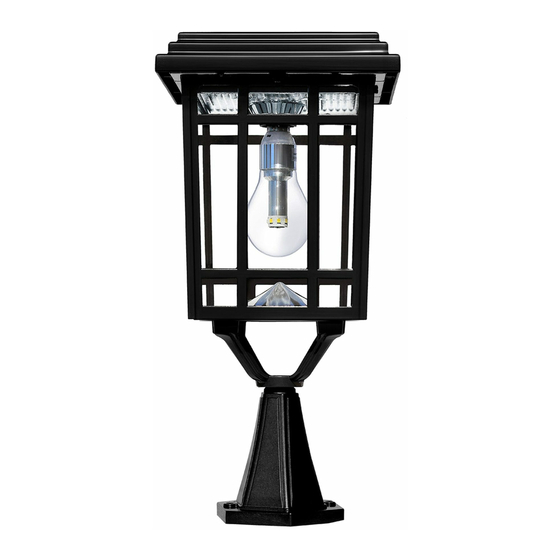
Blättern Sie online oder laden Sie pdf Gebrauchsanweisung für Lantern Gama Sonic GS-114P herunter. Gama Sonic GS-114P 8 Seiten. Prairie solar lamp w/changeable mounting options
Auch für Gama Sonic GS-114P: Gebrauchsanweisung (5 seiten)

Introduction
Thank you for your purchase. GAMA SONIC® solar charged
accent lighting eliminates the problems associated with most
solar lighting available today. GAMA SONIC® solar charged lights
are brighter and last all night with a typical solar charge. Unique
design, superior light output and numerous installation options
confirm the outstanding value of our product.
GAMA SONIC® has been recognized as a worldwide leader in
the lighting industry for over 20 years. The company also offers
unique multi-purpose rechargeable products that range from
fans with built in radios to emergency lighting products.
For technical assistance and more information call our Toll Free
number:
1-800-835-4113
(only within the US)
or visit our website at:
www.gamasonic.com.
Please read the instruction manual carefully to obtain the best
results from your purchase.
Tools that are needed but not supplied with the solar post lamps
are: a screw driver, power drill.
Solar Lamp Location:
For optimum light duration throughout the night, it is very
important to place your solar lamp in a spot where it will receive
the maximum amount of direct sunlight throughout the day.
Note: For best results, the solar lamp post must be charged for
two sunny days in the OFF (O) position.
2
Operation Instructions
1.
Remove part (B) from part (A) by unscrewing the 2 screws
as shown in Fig. 1. Turn the operation switch (Fig. 2) to ON (|)
position, the Solar Lamp will automatically operate dusk to
dawn.
2.
Reattach part (B) to part (A) and secure with the 2 screws.
Installation Instructions
GS-114P (Fig. 3)
1.
Use a drill to make two holes in the desired surface,
2.
Use the appropriate mounting hardware to secure your lamp
to the desired surface.
Note: There are specific types of screws for specific surfaces. If
unsure of the appropriate type of screw to use on your desired
surface please consult a professional.
3
