Gama Sonic GS-94B-T Gebrauchsanweisung - Seite 3
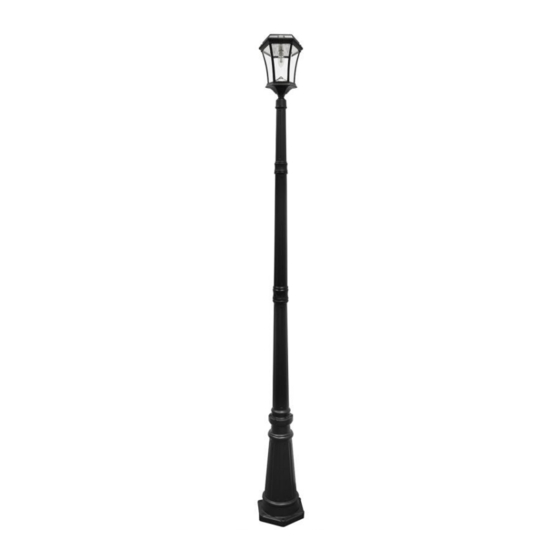
Blättern Sie online oder laden Sie pdf Gebrauchsanweisung für Lantern Gama Sonic GS-94B-T herunter. Gama Sonic GS-94B-T 5 Seiten. Victorian solar lamp post with gs solar led light bulb
Tools needed:
Tools that are needed but not supplied with the solar lamp post set are: a screw
driver, a wrench and an electrical drill that will be used to anchor the lamp base to the
ground.
Solar Lamp Post Location
For optimum light duration throughout the night, it is very important to mount your
solar lamp post in a spot where it will receive the maximum amount of direct sunlight
throughout the day.
Assembly Instructions
WARNING: GAMA SONIC® Light bulbs are not to be used in other electrical
sockets these are low-voltage light bulbs that are built and designed for our
products only!
NOTE: The solar light must be charged for two sunny days in the "On" position
for best results.
NOTE: The following steps are for reference only. Consult your local hardware
store for the best installation method for your particular surface.
GS-94B-S
1. Turn the On/Off switch on the lamp head (A) to Low or High position
(Fig. 1).
2. Use electric drill to make three holes into a solid surface no smaller
than the fastening screws (G). The holes shall be lined up with the
holes of the lamp base (F).
NOTE: For installation in the ground where pouring concrete is
not preferred or possible, use our GS-3 EZ Lamp Post Anchor
(sold separately) to quickly and easily secure the lamp anywhere
in your yard. This is only to be used with the GS-94B-S model.
3. Put the fastening screws (G) into the drilled holes with their threaded
ends facing up.
4. Place lamp base onto fastening screws and secure base with the nuts
using a wrench. Cover the bolts with the plastic covers provided.
5. Make sure the lamp base (F) is stable before installing Part (E).
3
Fig. 1