AIRFIX Doctor Who Welcome Aboard Montage- und Lackieranleitungen - Seite 8
Blättern Sie online oder laden Sie pdf Montage- und Lackieranleitungen für Spielgeräte & Spielplatzgeräte AIRFIX Doctor Who Welcome Aboard herunter. AIRFIX Doctor Who Welcome Aboard 11 Seiten.

14
Painting techniques
There are a wide variety of painting techniques that can be employed to enhance your
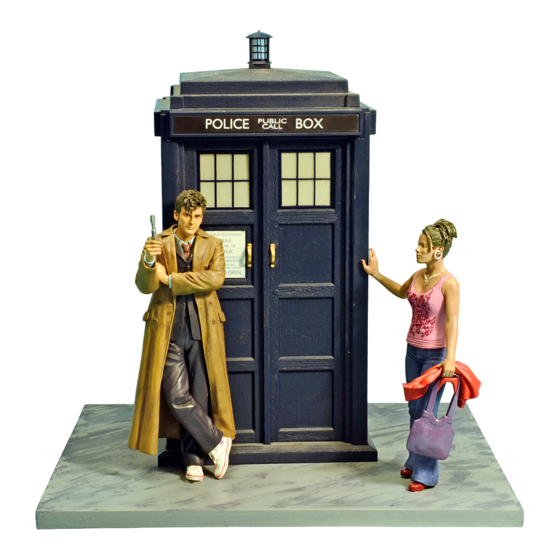
'Welcome Aboard' Doctor Who Gift Set. In this painting guide we will firstly outline these
techniques and then show you where best to use them.
Equipment
Paint – Your kit contains all of the colours required
to complete your 'Welcome Aboard' Doctor Who
Gift Set to an excellent standard, however, further
colours can be used. (See page 19).
Brushes – You can achieve excellent results with the
brushes provided in your model kit but if you want
to achieve a truly professional finish we recommend
the purchase of an additional size 000 brush for
super fine detail.
Water – We recommend two jars of water; a 'clean'
jar for cleaning and thinning lighter tones of paint
(e.g. Flesh, White and Yellow) and a 'dirty' jar for
cleaning darker tones of paint (e.g. Blue, Black and
Brown).
Blotter – A pad of Kitchen Towel or Newspaper to
brush excess paint on, or to absorb excess water on
a freshly cleaned brush.
Watercolour Pencils – Coloured pencils that use a
special pigment that dissolves in water to produce
watercolour paint. By no means essential,
Watercolour Pencils can be used to create
spectacularly realistic effects on models.
Palette – A surface for mixing paint. You can use
commercially available palettes, an old plate, a
piece of tinfoil or any non-absorbent material.
Technique Glossary
Brush Loading – Dip the brush in the paint up to
about half the length of the bristles. Don't dip the
brush in too deeply or you will overload the brush.
Brush Cleaning – Immerse the brush in a jar of water
stirring vigorously until the paint on the brush
dissolves in the water. Ensure the brush is clean and
dry by wiping it on your blotter and checking that the
brush does not leave any streaks of the old colour.
Basic Painting – The process of covering the surface
of the model with an even coat of paint. Try not to
'overload' the brush with too much paint as this can
lead to runs and visible brush marks in addition to
destroying fine details on the model. It is always
better to apply a few thin coats of paint rather than
to apply one thick one. The resulting coat of paint
can be referred to as the 'base' or 'foundation' coat.
Overbrushing – The process of enhancing detail by
brushing paint onto the surface of a textured area
without filling the recesses. Overbrushing is used on
areas of a model such as hair and wood grain. To
Overbrush you need to ensure that your brush is not
overloaded by wiping away a little paint and
ensuring the paint is not too watery. Pull the brush
gently over the model with the bristles flat to the
surface of the model being careful not to fill the
recesses.
Drybrushing – The process of enhancing detail by
brushing high/low lights onto the surface of the
models. Drybrushing is used on areas of a model
where subtle textures need to be enhanced. It can
be used to re-create denim, dirt, metal, hair and
many other finishes. To Drybrush you need to load
your brush and then repeatedly wipe the brush on
your blotter until only a faint mark is produced.
Stroke the brush lightly and quickly over the surface
of the model building up subtle shades of colour.
Washing – The process of enhancing detail by
brushing highly viscous (wet) paint over the surface
of the model filling detail recesses with paint.
Washing is used to enhance detail by allowing the
shading of large areas quickly. Create washes by
mixing water and paint in a ratio of six parts of
water to four parts of paint. Adding a drop of
washing up liquid to the paint will produce a
smoother more evenly distributed coat and adding a
drop of PVA glue will gather the pigment together
creating a stronger contrast.
15
