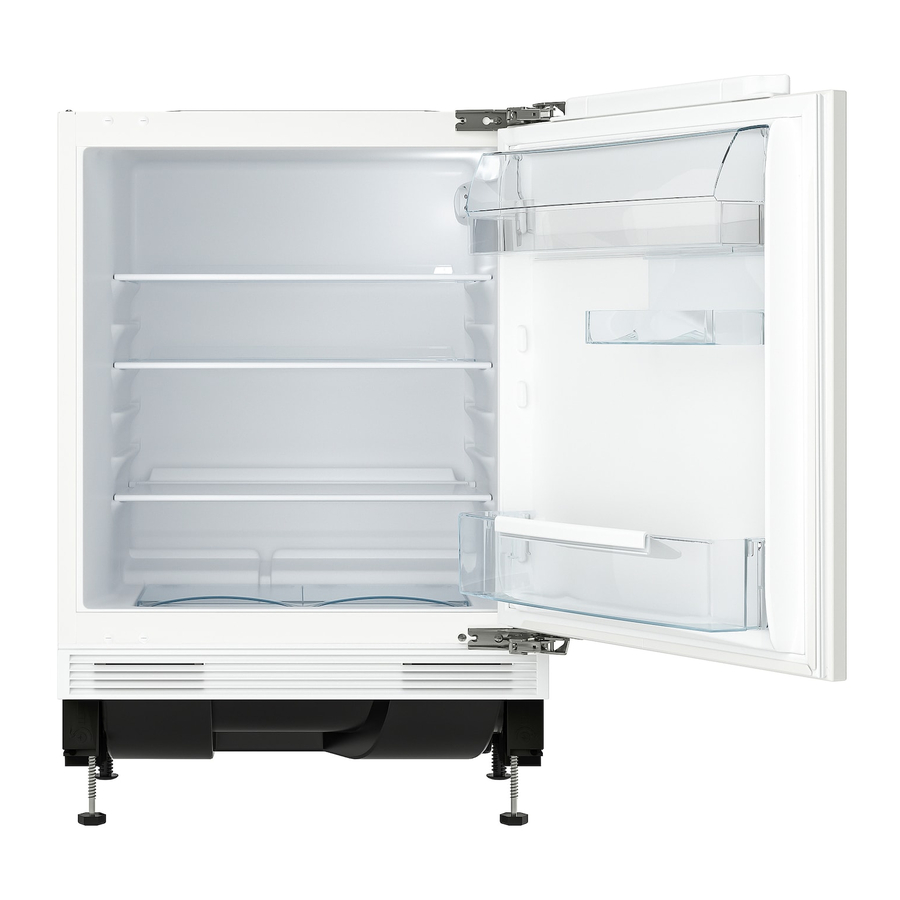
IKEA SMAFRUSEN Schnellstart-Handbuch - Seite 5
Blättern Sie online oder laden Sie pdf Schnellstart-Handbuch für Inneneinrichtung IKEA SMAFRUSEN herunter. IKEA SMAFRUSEN 8 Seiten.
Auch für IKEA SMAFRUSEN: Handbuch (48 seiten), Handbuch (44 seiten), Handbuch (41 seiten), Handbuch (28 seiten), Handbuch (20 seiten)

ENGLISH
the appliance in the nearby of the heat
source (oven, stoves, radiators, cookers or
hobs) or in a place with direct sunlight.
Appliance must be installed according to
installation instruction in order to ensure
required ventilation.
This appliance is intended to be used at
ambient temperature ranging from 10°C to
43°C.
The correct operation of the
appliance can only be guaranteed
within the specified temperature
range.
If you have any doubts regarding
where to install the appliance,
please turn to the vendor, to our
customer service or to the
nearest Authorised Service
Centre.
It must be possible to disconnect
the appliance from the mains
power supply. The plug must
therefore be easily accessible
after installation.
Inspection checklist
Please follow the inspection checklist before
using your appliance. If any answer is "NO",
follow the relevant action. Remember to
write down the product serial number and
article number as required and attach your
receipt to this page.
Product serial number (Ser. No.):
.....................................
Product article number (Art. No.):
.....................................
Purchasing date:
Control panel
Switching on and off
To switch on the appliance:
To download the full version visit www.ikea.com
.....................................
GROSS CAPACITY
BRUTTO INHALT
REFRIGERATOR NET CAPACITY
KUEHLSCHRANK NUTZINHALT
FREEZER NET CAPACITY
GEFRIERSCHRANK NUTZINHALT
FREEZING CAPACITY
GEFRIERVERMOEGEN
RISING TIME
LAGERZEIT BEI STORUNG
CLASS
XX/X/XX/X
KLASSE
XXXXXXXXXX
TYPE-TYP
230-240V
REFRIGERANT
KAELTEMITTEL
DEFROST HEATER
ABTAUWIDERSTAND
To check
Check if the evapo‐
rative tray located
under the appliance
is placed below the
water outlet.
Make sure gasket
seals all around the
door when the door
is closed.
Check if there is no
collision between
parts/furniture while
opening and closing
the door.
Install the appliance
in the built-in struc‐
ture.
Make sure that at
first installation or
after reversing the
door the appliance
stands in vertical po‐
sition for at least 4
hours before it is
connected to the
power supply.
1. Insert the plug into the wall socket.
2. Turn the temperature regulator
clockwise to a medium setting.
Art. No.
XXX l
Made in Hungary
@ Inter IKEA Systems B.V. 1999
XXXXXXXXX
XXX l
xxxxx
XX l
IKEA of Sweden AB
SE 343 81 Älmhult
X kg/24h
XXXXXXXXXXXX
MODEL
XX h
XXXXXXXXX XX
PNC
XXXXXXXX
SER.N.
50 Hz
1.0 A
TYPE I
XXXXXXXXX
XXX W
Ser. No.
If the answer is NO
Place the evapora‐
tive tray under the
water outlet below
the appliance.
Refer to the assem‐
bly instruction -
door alignment.
Refer to the assem‐
bly instruction -
door alignment.
Follow the assembly
instruction for the
proper installation.
Wait 4 hours before
connecting the ap‐
pliance to the power
supply.
5
