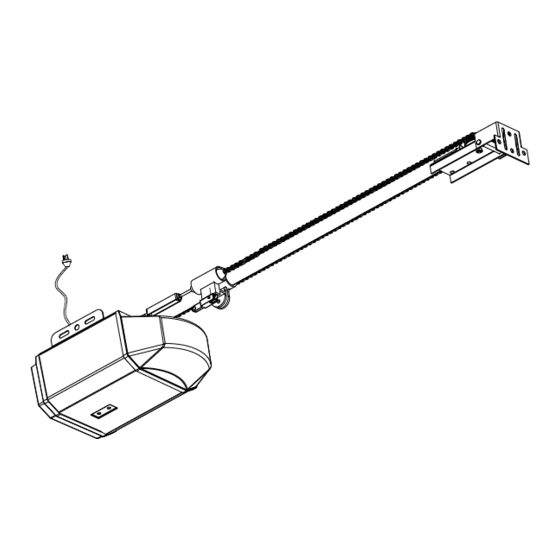
Centurion SDO-10 Installationsanleitung und Benutzerhandbuch - Seite 7
Blättern Sie online oder laden Sie pdf Installationsanleitung und Benutzerhandbuch für Garagentoröffner Centurion SDO-10 herunter. Centurion SDO-10 19 Seiten. Sectional and tilting door opener

Slide the Carriage on to the Drive Pole ensuring that the "Door" arrow on the Carriage faces towards the door.
Slide the Terminal Bracket on to the end of the Drive Pole ensuring that the engaged end of the Drive Pole hits
the stopper in the Terminal Bracket. (Fig.3)
3. Drive Chain Assembly and Tensioning
Position the Carriage approx 225mm from the Terminal Bracket. (Fig.4)
Insert the Bullet into the Carriage and engage the Carriage so as to lock the Bullet into place. (Fig.4)
Pull the Drive Chain towards the Terminal Bracket and wrap it around the Chain Sprocket. (Fig.4)
Continue to extend the chain back towards the Power Head and wrap the Drive Chain around the Chain
Sprocket ensuring that the teeth of the Chain Sprocket engage into the links of the Drive Chain. (Fig.4)
Extend the remainder of the Drive Chain back to the Bullet.
Fig 4A
Turn the Lock Nut all the way onto the Bullet Tensioner Screw
Place the Square Nut (Fig.4A) INTO the Tensioner Block and affix the Tensioner Block to the Tensioner
Screw
Turn the Tensioner Block until the Drive Chain has about 3~5mm of sag at the mid point.
Firmly tighten the Lock Nut against the Tensioner Block
Important Note: Ensure that the Drive Chain has not been over tightened or under tightened.
Under tightening or over tightening can cause the AGDO to;
i. suffer premature wear to the Chain Sprocket and/or Pulley Wheel, or
ii. become excessively noisy when opening or closing the garage door.
Fit the Chain Guard once the Drive Chain has been tensioned. (Fig.4)
The AGDO has now been fully assembled and is ready for installation.
ASSEMBLY INSTRUCTIONS
Fig 3
Fig 4
- 7 -
Fig 4B
Fig 4C
SDOPD
