jali Dresser-Multi Montageanleitung Handbuch - Seite 6
Blättern Sie online oder laden Sie pdf Montageanleitung Handbuch für Inneneinrichtung jali Dresser-Multi herunter. jali Dresser-Multi 11 Seiten.
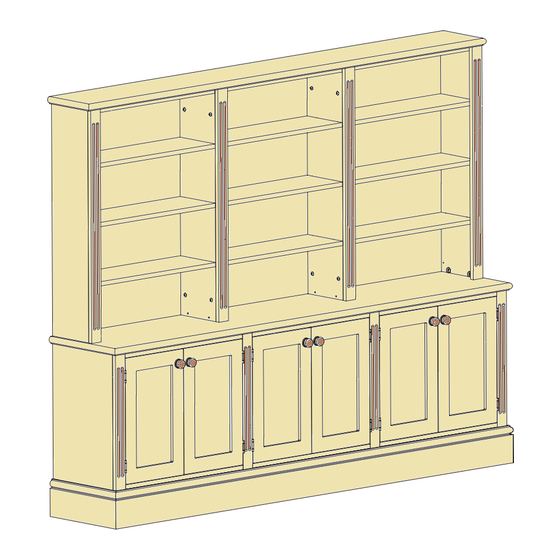
8. Once the Shelves and the Box Base are
placed in the RH Side, the LH Side can be
located. Ensure that the Shelves with cams
align with the Cam Bolts in the LH Side,
and lock these into place. See Page 2 for
help with cams. Lock the cams in the Box
Top and Box Base.
9. Align the Valance White Cams with the
Box Base Cam Bolts, then lock each cam
securely in place.
Fix with 25mm
WSH Screws
Assembly Instructions: Multi Section Dresser
NOW ASSEMBLE THE OTHER LOWER SECTION BOXES
Fit 45mm CSK Screws through the 4mm holes
(in the RH Side) into the Box Top, Box Base and
Shelves with cams
Box Back
10. Place the Box Back onto the assembly
with the engraving upwards and towards
the box square. Once all sides are fixed
in place, continue to screw through the remaining 3mm
holes with 25mm WSH Screws to help secure the Shelves.
LH Side
Valance
the Box Top as shown. Slide the
Box Back over until the top
edge aligns perfectly with the
Box Top. Fix this top edge with
the 25mm WSH Screws. Then
fix down one side, accurately
realigning the edge to the
Side as you go. This should force
Page 6 of 11