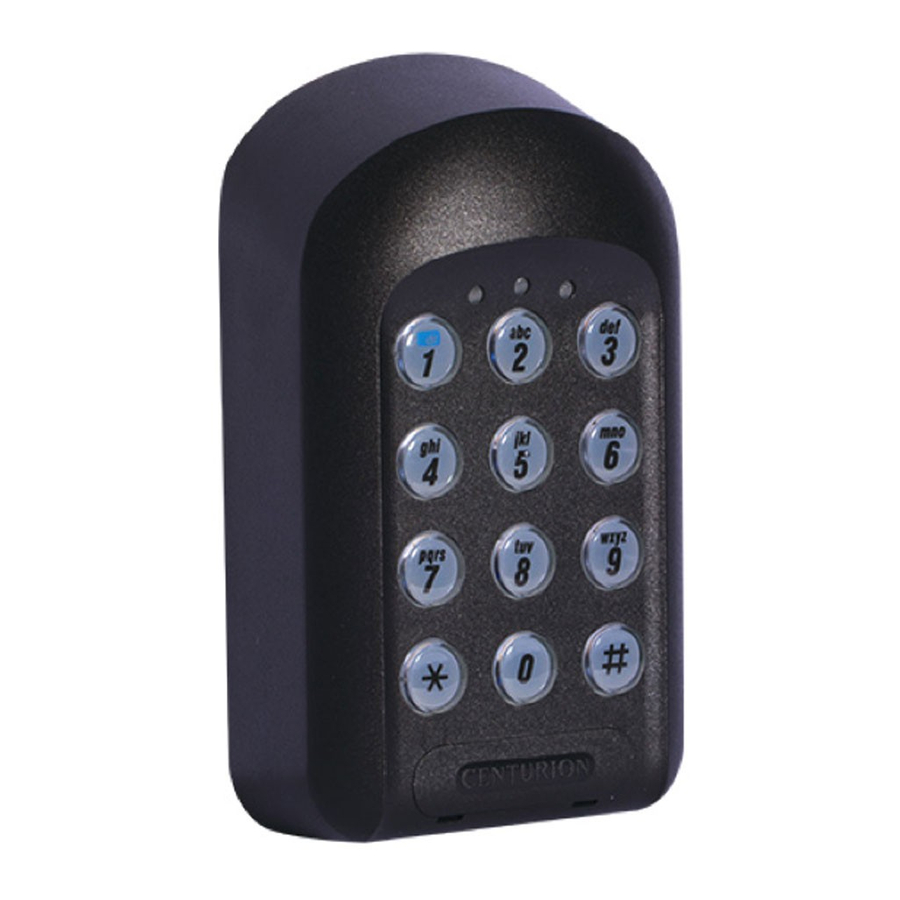
Centurion SMART GUARD air Betriebsanleitung - Seite 2
Blättern Sie online oder laden Sie pdf Betriebsanleitung für Gateway Centurion SMART GUARD air herunter. Centurion SMART GUARD air 12 Seiten. High security keyless access control
Auch für Centurion SMART GUARD air: Betriebsanleitung (11 seiten)

1. KwikLearn
In order to preserve battery life, the unit is packed with the link
fitted on the 12V side of the power selection pins.
To select batteries as the primary power source, bridge
the pin marked 'AA BATT' with the common (centre) pin.
For information on selecting 12V as the primary power source,
refer to Section 19, 'Typical connection diagram'.
The following KwikLearn procedure and connection diagram will enable
you to start using your SMARTGUARDair system right away.
Additional procedures are explained later in this guide.
Add a new access code at a specified address.
The code will operate Channel 1 only.
In the example below, a new code is learned into Address 0,
meaning that a new Master Code will be created and the existing
Master Code replaced.
Enter the following keystrokes:
1. Enter Program Mode
2. Select KwikLearn
3. Enter user address
4. Enter access code
1
Default Master Code=1234
The SMARTGUARDair will have to be paired to a valid receiver
before a code will be able to activate it. Thus, the KwikLearn
procedure will store a new code in the keypad's memory, but the
code will still have to be associated with a receiver using either the
KwikPair facility described overleaf, or the Pairing Menu (Menu 3).
Example:
Kwiklearn access code
Master Code=
Enter the following keystrokes:
1. Enter Program Mode
2. Select KwikLearn
3. Enter user address
4. Enter access code
2.KwikPair
The SMARTGUARDair must now be paired with a CENTURION
code-hopping radio receiver.
1.
Place the receiver into Learn Mode, and enter a valid code on the
SMARTGUARDair, followed by
now transmit for a short time, and will pair with the receiver.
2.
Remove the receiver from Learn Mode, and test the system by
entering a valid code, followed by
activate.
3. How to use this Guide
The procedures in this Guide require the user to perform certain
sequential actions on the SMARTGUARDair keypad. To assist you, the
combined state of the three LED indicators on the keypad correspond
with particular steps within a procedure. When carrying out the
procedures, please be aware of the following:
The factory default Master Code (
Guide as an example only. Refer to Section 7 for instructions on how to
change the Master Code.
1
Indicates a particular key to be pressed on the keypad by the user
Indicates a lit LED
[ ] Indicates optional entries.
Important when choosing an access code number
If you intend using the Duress Security Parameter ensure
that no consecutive numbers are assigned as codes.
Ensure that the desired code has not already been allocated
4. Icons used in this guide
This icon indicates tips and other information that could be
useful during the installation.
This icon denotes variations and other aspects that should be
considered during installation.
This icon indicates a warning, caution or attention!
Please take special note of critical aspects that MUST
be adhered to in order to prevent injury.
0
0
Code
9
3
1
2
3
4
0
2
9
Master Code
2
4 5
into address
1
2
3
4
5
3
2
4
5
. The SMARTGUARDair will
. The receiver should now
1 2
3 4
Indicator LEDs
1
2 5
Indicator LEDs
is used throughout this
