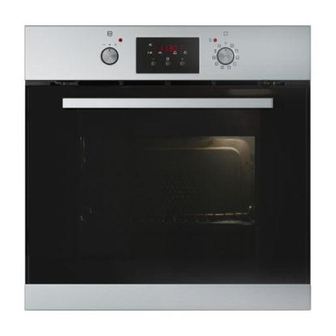
IKEA OV10 Benutzerhandbuch - Seite 12
Blättern Sie online oder laden Sie pdf Benutzerhandbuch für Backofen IKEA OV10 herunter. IKEA OV10 24 Seiten.
Auch für IKEA OV10: Gebrauchsanweisung (20 seiten)

ENGLISH
Weight
(kg)
1
White Bread
1
Warning! Do not line the oven with
aluminium foil and do not place a roasting
pan or baking tray on the floor. Build-up heat
can damage the oven enamel.
Warning! Always cook with the oven
door closed, even while grilling. Be careful
Care and cleaning
Warning! Switch the appliance off and
let it cool down before you clean it.
Warning! For safety reasons, do not
clean the appliance with steam blasters
or high-pressure cleaners.
Warning! Keep the appliance clean at
all times. A build-up of fats or other
foodstuffs can cause a fire, especially in the
dripping pan.
Outside of the appliance
• Clean the front of the appliance with a soft
cloth and warm water with soap.
• For metal fronts, use normal cleaning
agents.
• Do not use scouring agents and abrasive
sponges.
Oven interior
• Turn the oven lamp on before cleaning.
• Clean the oven with a soft cloth with warm
water and soap and leave it to dry .
Accessories
Clean all slide-in units with a soft cloth with
warm water and soap (shelf, baking tray, shelf
support rails etc.) after each use and dry well.
Soak briefly to make them easier to clean.
Cleaning the oven door
The oven door has four panels of glass instal-
led one behind the other. To make the cleaning
easier remove the oven door and the internal
panels of glass.
Food
Oven Function
Pizza
Level
Oven tem-
perature (°C)
2
1
when opening the drop down oven door. Do
not allow it to fall open - support the door using
the door handle, until it is fully open.
Warning! The oven door can close if you
try to remove the internal panels of glass
when the door is still assembled.
Removing the oven door and the glass
panels
Open the door fully
and hold the two
door hinges .
Close the oven door
to approx. 45°. Then
pull forward and re-
move it from its seat.
Cooking
Time (min)
190
50-60
190
25-35
Lift and turn the lev-
ers on the two hinges.
Place the door on a
stable surface and a
soft cloth.
12
