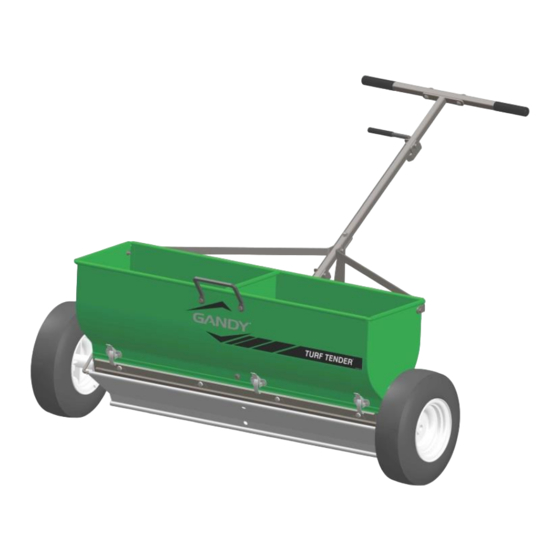
Gandy 24H12 Benutzerhandbuch - Seite 2
Blättern Sie online oder laden Sie pdf Benutzerhandbuch für Streuwagen Gandy 24H12 herunter. Gandy 24H12 8 Seiten. 24” & 36” spreaders
Auch für Gandy 24H12: Benutzerhandbuch (8 seiten), Benutzerhandbuch (10 seiten)

Assembly Instructions
1. Assemble Rotors
Place hopper upside down, unsnap and remove
bottom. Loosen wing nuts on bearing retainers in
place and remove bearings. Slide end washer and
bearing onto longer ends of rotor bars and insert
rotors into hopper's center bearing.
2. Assemble bearing retainers, spread plate
Place bearing retainers over bearings with SAE
washer and wing nut. NOTE: Retainer rods
must project away from handle side.
Secure one bearing retainer with spread plate
retainer rod in place with SAE washer and wing
nut. Slide spread plate assembly onto retainer
rod.
Insert rod of other bearing retainer into other end
of spread plate and secure retainer in position on
bearing with SAE washer and wing nut.
3. Attach wheels
Attach wheels on rotor ends with hair pin cotters
when using semi-pneumatic tires and with clevis
pins when using pneumatic tires.
4. Assemble Handle
Thread right angle of shutoff lever upwards
through lever guide loop on parking stand until
loop rests against stop on lever. Slip same right
angle of lever upwards through lever guide loop
on handle and fasten handle to stand with two
1/4 x 1-3/4" hex bolts, two wrought washers, and
lock nuts.
Attach 4-hole hook mounting bracket to under
side of parking stand-handle assembly in lowest
hole of handle, using 1/4 x 1-3/4 hex bolt,
wrought washer and lock nut.
Remove the whiz lock flange nut from stud lo
cated on the cam gauge side of the hopper. At
tach end of handle-stand assembly to stud with
whiz lock flange nut just removed. Be sure
shutoff lever is in slot on hopper bottom.
