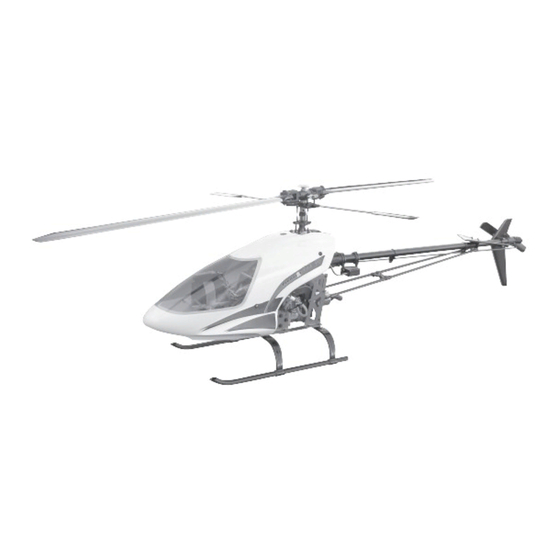
Century Helicopter Products Predator 70 Gebrauchsanweisung - Seite 19
Blättern Sie online oder laden Sie pdf Gebrauchsanweisung für Spielzeug Century Helicopter Products Predator 70 herunter. Century Helicopter Products Predator 70 20 Seiten.

#HI6133
Windshield
Leave the protective coating in place until after it is drilled
for mounting screws. Rough cut the windshield leaving 3mm
[1/8"] then carefully cut out the windshield following the
line molded into the winshield.
#HW6125
Wood inside
mounts
Bond the wood inside mounts into the inside of the canopy
with Epoxy. Center each block over the holes with the top
edge flush to the canopy edge. Once cured, drill the final
hole size for the screws.
Attach the windshield with the M3 self tapping screws
being careful not to overtighten them.
M3x6 Self Tap
Screws x 10
60/70 SE &
Max 90
Decal Locations
1.
8.
Lower cheek of canopy.
2.
7.
Middle, below windshield.
3.
6.
From edge below rear grommet
4.
10.
Horizontal Fin (top & bottom on 60/70).
5.
9.
Vertical Fin (above & below on 60/70).
97
Position the windshield and tape in place. Mark and drill
pilot holes around the windshield edge, centered through the
matching recess of the canopy.
99
Flush to canopy
edge.
Clean the canopy. Trim the decals from the sheet and apply
to the side of the canopy before the lower grommet is
installed. Cut through the decal and install the lower grom-
met through the canopy.
101
After the canopy is finished, the wooden blocks can be
painted white to match the canopy. The rubber grommets
should be reinforced using "Goop" adhesive or similar.
Drill 8-9 holes.
Install lower
grommet after the
decal is applied.
98
#HI6130 Fiberglass
Gelcoat Canopy
100
#HW6125
Rubber
Grommets x 4
#HI6131 Decal
Sheet
102
Reinforce the
rubber gromments
on the inside using
"Goop" adhesive.
19
