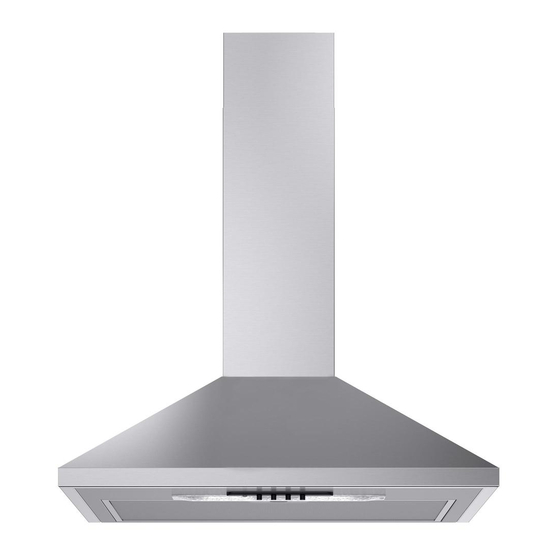
BEFORE USE
Keep the packaging material out of reach of children.
*
Please read these instructions carefully and keep them for future reference.
*
Peel off protective film before using the product for safety. Fig. 3.
*
Use after removing of PVC film surface must be cleaned with cotton or cloth.
*
For Any Further Queries Please Call at our Toll Free no.
*
PRECAUTIONS
Ensure that the mains voltage corresponds with the recommended voltage of the chimney.
*
Connect the chimney to the electric supply with proper earthing.
*
When installed, the minimum gap between the Chimney and the hob must be 700mm for Gas hob &
*
500mm for Electric hob as Fig.4
Never leave frying pans unattended during use, as overheated oil may catch fire.
*
In the Ducting mode, the chimney duct must not be connected to an outlet that is used for exhausting fumes
*
from other appliances like central heating flue.
Before carrying out any maintenance, unplug the chimney from electric supply.
*
*
Never use high naked flame under the chimney when it is in operation.
*
When using a gas hob underneath the chimney, never leave the burner of the hob uncovered while the
chimney is in use or when the pans have been removed. Switch-off the burner after usage, never leave the
burner "ON", when unattended / not in use.
Always ensure that the appliance is used in accordance with the manufacturer's instruction.
*
INSTALLATION
The Chimney can be installed as Extraction Mode (Ducting) and Re-circulating Mode (Recycling). All Chimneys perform more efficiently in
*
the Ducting Mode.
The installation must be done by an authorised service representative, with thorough knowledge of the parameters concerning installation of
*
chimney.
Ensure that the installation is carried out as per enclosed general installation guidelines mentioned in the booklet.
*
Use recommended size 150 mm for the outlet duct pipe ( minimum is 120 mm). A duct pipe with a smaller cross-sectional area damages the unit and
*
also invalidates the warranty. Best suited flexible ducting pipes are available with service centers at an additional cost.
Wall marking:
• Draw a vertical line on the supporting wall up to the ceiling, or as high as practical, at the
centre of the area in which the hood will be installed.
• Place bracket 5 on the wall as shown about 1-2 mm from the ceiling or upper limit, aligning
the centre (notch) with the vertical reference line.
• Mark the wall at the centres of the holes in the bracket.
• Place bracket 5 on the wall as shown at X mm below the first bracket (X = height of the
upper chimney section supplied), aligning the centre (notch) with the vertical line.
• Mark the wall at the centres of the holes in the bracket.
• Place bracket
4
as shown 1 10 mm from the vertical reference line and 163 mm base of
the chimney till the hood body fixing bracket.
• Mark the centres of the holes in the bracket.
• Repeat this operation on the other side.
3
WARNING !
Peel off protective
film before using the
product for safety.
Fig. 3
500 / 700 mm
Fig. 4
5
4
Fig. 5
AA-2037583-3

