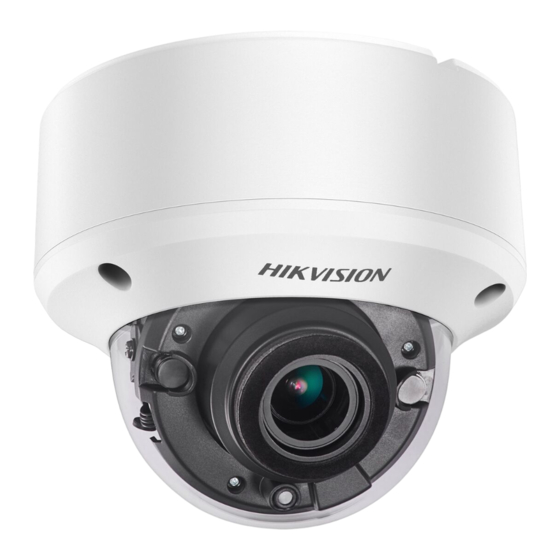
HIKVISION TURBO HD DS-2CE56D8T-VPIT(E) Benutzerhandbuch - Seite 8
Blättern Sie online oder laden Sie pdf Benutzerhandbuch für Sicherheitskamera HIKVISION TURBO HD DS-2CE56D8T-VPIT(E) herunter. HIKVISION TURBO HD DS-2CE56D8T-VPIT(E) 15 Seiten. D8t series dome camera
Auch für HIKVISION TURBO HD DS-2CE56D8T-VPIT(E): Benutzerhandbuch (17 seiten)

0° to 75°
Figure 2-8 Type I Camera 2-Axis Adjustment
1) Loosen the tilt adjusting screw to adjust the tilt
position [0° to 75°].
2) Hold the black liner to adjust the pan position [0°
to 355°].
3) Hold the camera body to adjust the rotation
position [0° to 355°]
8. Reinstall the bubble, and tighten the screws.
2.3 Wall Mounting of Type I Camera and Type II
Camera
Before you start:
You need to purchase a wall mounting bracket
separately.
Steps:
1. Drill four screw holes in the wall according to the
holes of the bracket.
2. Attach the bracket to the wall by aligning the four
screw holes of the bracket with expansion screws on
the wall.
3. Secure the bracket with four hex nuts and washers.
Figure 2-10 Install Wall Mounting Bracket
4. Refer to step 3 of 2.1 Ceiling Mounting of Type I
Camera and Type II Camera to remove dome
camera's bubble and the black liner.
5. Attach the back box/base plate of the dome camera
to the wall mounting bracket, and secure them with
supplied screws.
Figure 2-9 Bubble Reinstallation
Type I Camera
0° to 355°
Adjusting Screw
0° to 355°
