Berner AC10 Handbuch für Installation und Wartung - Seite 5
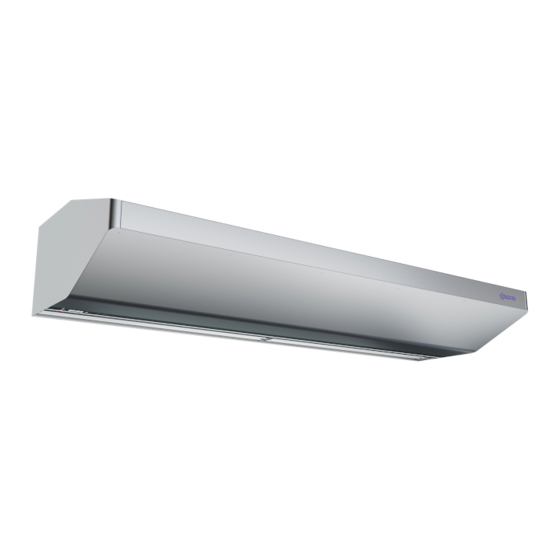
Blättern Sie online oder laden Sie pdf Handbuch für Installation und Wartung für Heizgerät Berner AC10 herunter. Berner AC10 16 Seiten. Architectural contour air curtain

III. WALL MOUNTING
A.
PREPARATION
1.
Locate the wall mounting hangers, mounting catch
and hook, in the carton that contained the unit.
See Figure 4. For units over 72", there are more than
two wall hangers.
2.
Use ¼"-20 bolts to attach the mounting catch and
hook to the back of the air curtain.
3.
The mounting hardware (supplied by others) must
be capable of supporting a minimum of three times
the net weight of the Air Curtain. See Weight Chart,
Table 1.
MOUNTING WALL HANGERS
B.
1.
Position the wall hangers evenly over door opening,
no more than 6" from each end of the air curtain,
sliding to match the location of support structure.
2.
Using minimum ¼"-20 bolts (supplied by others),
secure the wall hangers to the supporting structure.
C.
ATTACHING THE AIR CURTAIN TO THE WALL HANGERS
1.
Raise the unit over the door (air discharge nozzle
facing down) and onto the wall mounting hangers.
See Figure 5.
2.
Rotate the unit into place, allowing it to rest above
the lower lip of the wall hanger and add the locking
screws (one per wall hanger).
Proceed to Section V - ELECTRICAL CONNECTIONS
3.
IV. SUSPENDED MOUNTING
NOTE: if the unit was ordered with a decorative rear
cover, the air curtain will arrive with the cover already
installed, and the wall mounting hangers, mounting catch
and hook will not be included in the shipment. Contact
Berner if they are required.
A.
For top mounting using suspension rods, four (4) factory
installed 1/4"-20 threaded inserts are located on the top of
the unit. See Figure 6.
B.
Install 1/4"-20 threaded rods, or other suitable hardware at
a location sufficient to support the Air Curtain. The
mounting hardware (supplied by others) must be capable
of supporting a minimum of three times the net weight of
the Air Curtain. See Weight Chart, Table 1.
C.
Attach 1/4"-20 threaded rods, or other suitable hardware
to the top mounted threaded inserts. Secure threaded rods
with locking nuts.
Proceed to Section V – ELECTRICAL CONNECTIONS
D.
V. ELECTRICAL CONNECTIONS
All electrical wiring and connections MUST be performed by
qualified personnel in accordance with the latest edition of the
National Electrical Code ANSI/NFPA No. 70 or, in Canada, the
Canadian Electrical Code, Part 1-C.S.A. Standard C22.1 and local
codes and regulations.
MAKE SURE THE CORRECT VOLTAGE AS MARKED
ON THE UNIT IS USED.
Figure 4 - Wall Mounting Preparation
Figure 5 - Wall Mounting Installation
Figure 6 - Suspended Mounting
-5-
