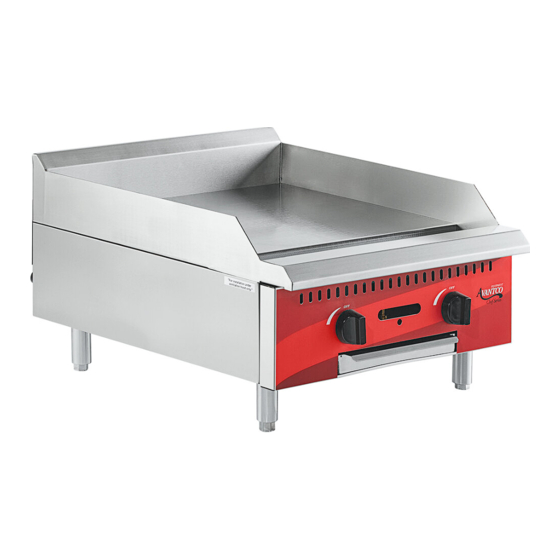
Avantco 177AG48MG Installation, Betrieb und Wartung - Seite 4
Blättern Sie online oder laden Sie pdf Installation, Betrieb und Wartung für Kommerzielle Lebensmittelausrüstung Avantco 177AG48MG herunter. Avantco 177AG48MG 17 Seiten. Manual griddles, radiant charbroilers, hot plates

PRESSURE REGULATOR
Commercial cooking equipment must have a pressure regulator on the incoming service line for
safe and efficient operation, since service pressures may fluctuate on local demand. A pressure
regulator is packed inside every Avantco appliance.
FAILURE TO INSTALL THE PRESSURE REGULATOR WILL VOID THE APPLIANCE WARRANTY
The regulators supplied along with Avantco appliances will have ¾" inlet/outlet openings.
Prior to connecting the regulator, check the incoming line pressure as these regulators can only
withstand a maximum pressure of ½ psi (14" WC). If the line pressure is beyond this limit, a step
down regulator will be required.
The arrow shown on the bottom of the regulator body shows the gas flow direction, it should
point downstream to the appliance. The red air vent cap on the top is part of the regulator and
should not be removed.
Any adjustments to the regulator should be made only by qualified service personnel with the
proper equipment.
CONNECTIONS
Please check installer-supplied intake pipes visually and/or blow them with compressed air to
clear any dirt particles, threading chips, or any other foreign matter before installing a service line.
When gas pressure is applied, these particles could clog orifices. All connections must be sealed
with a joint compound suitable for LP gas, and all connections must be tested with a soapy water
solution before lighting any pilots.
CAUTION: When lighting pilots and checking for leaks, do not stand with your
INITIAL PILOT LIGHTING
Check all gas connections for leaks with a soapy water solution before lighting any pilots.
LIGHTING & SHUTDOWN
•
Turn all valves to the OFF position.
•
Wait for 5 minutes.
•
Turn pilot valve(s) by adjusting the screw counter clockwise, then light standing pilot and
adjust flame to ¼" high.
•
Turn ON gas valve(s) to light the main burner.
•
For complete shutdown, shut OFF gas valve(s) and turn pilot valve(s) by adjusting the screw
clockwise to shut off gas to the pilot(s)
BEFORE GRIDDLES 1
•
Clean the griddle surface thoroughly with hot, soapy water to remove factory-applied
protective oil coating.
•
Rinse with a mixture of ¼ cup vinegar to 1 qt. water.
•
Spread unsalted solid shortening or liquid frying compound evenly over the entire griddle
surface.
•
Turn all griddle burners to medium and wait until the shortening begins to smoke, then turn the
burners OFF.
•
Rub the now melted shortening into the griddle surface with burlap, moving in the direction of
the surface's polish marks and covering the entire surface.
•
Allow the griddle to coool.
•
When the griddle is cool after the second seasoning, wipe it with a thin film of shortening or
cooking oil.
Page |
4
face close to the combustion chamber.
USE
ST
