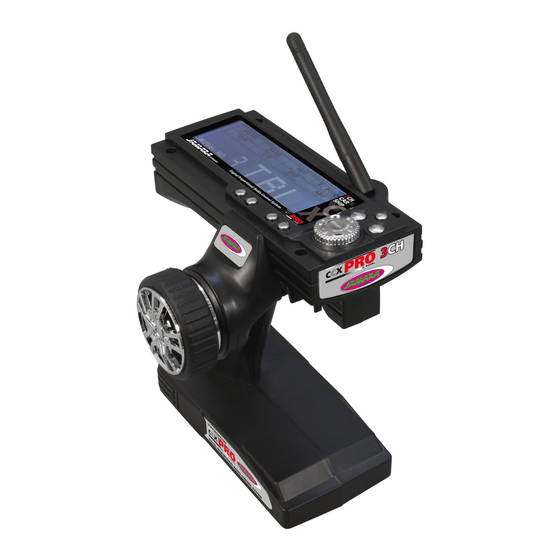
Jamara CCX Pro Anleitung - Seite 7
Blättern Sie online oder laden Sie pdf Anleitung für Transmitter Jamara CCX Pro herunter. Jamara CCX Pro 12 Seiten. 2,4 ghz
Auch für Jamara CCX Pro: Anleitung Handbuch (20 seiten), Anleitung (12 seiten), Anleitung (12 seiten), Anleitung (4 seiten), Anleitung Handbuch (16 seiten)

ES - NAME
En este menú se puede asignar a cada modelo un nombre (máximo 3 caracteres)
„ Modelo No."
=
Número del modelo
„ ACB"
=
Símbolo
Pulse „Enter" . Para seleccionar la opción „Name" (nombre) gira el botón Enter. La primera letra(
neste caso A) comienza a parpadear. Al girar el botón „Enter" para seleccionar una letra. Pulse el
botón „End" para pasar a la siguiente letra. Repita el proceso para la tercera letra. Si ha introducido
el código, confirme pulsando la tecla „Enter" Para salir del menú, pulse el botón „Back"
Servoinversión
Channel:
Número de canal 1.3
REV:
Servoinversión
NOR:
Servo de dirección normalhtung
Pulse „Enter". Girar el botón para el canal deseada. Pulse ‚END"
para pelear el ajuste. El ajuste está destellando, ahora seleccione el
botón „REV" o „NOR" y pulse Enter.
E POINT
Esta palma puede definir permite a la dirección de sus servos. Si el servo de dirección a escala
completa (a la izquierda oa la derecha) son diferentes, puede ajustar esta configuración.
Valor de salida es de 100%.
Desplazamientos de 0 a 120%.
Pulse „Enter" y Seleccione „E POINT"en el menú. Para seleccionar la dirección servo, pulse el canal
(1,2 o 3) en la dirección deseada ( 1=
Volante, 2= palanca del acelerador, 3= tercero botón de canal). Pulse el botón „END" para llegar
el fin de la configuración. Gira el botón para fijar el valor y pulse „ENTER" para confirmar el valor.
TRIM
Con esta configuración se puede establecer la posición neutral de los servos.
Valor de salida es de N00.
Desplazamientos de L30 sob N00 hasta F30 sob N00 hasta B30
L = Izquierda; N= Posición Cero; R= Derecha; F= Delante; B= Volver.
Pulse „ENTER" y selecciona „TRIM" en menú. El canal parpadear. Pulse „END" para obtener el
ajuste de la canal. Con la perilla de ajuste para seleccionar el valor deseable y pulse „Enter" para
confirmar el valor.
GB - NAME
In this menu you can assign a name to each model (max. 3 characters).
„Model No." =
model number
„ACB"
=
shortcut
Press „Enter". To select the option „Name" turn the enter button. The first letter (here A) starts to
flash. By turning the Enter button you can select a letter. Press the „End" key to switch to the next
letter. Repeat the process for the third letter. Once you have entered your code, confirm by pressing
the „Enter" key.
To exit the menu, press „BACK".
Servo reverse direction
Channel:
Channel number 1 to 3.
REV:
Reverse servo direction
NOR:
Normal servo direction
Press „Enter". Turn the knob to get to the desired channel. Press „END" to change the setting. The
setting is flashing, now select the button „REV" or „NOR" and press Enter.
E POINT
With this setting you can set the steering angle of your servos. If your steering servo differs at full
scale (left or right) differ, you can adjust it with this setting.
Output value is 100%.
Displacements from 0 to 120%
Press „Enter" and select „E POINT" in the menu. To select the servo direction, press the channel
(1, 2 or 3) ind the desired direction (1 = wheel, 2 = throttle, 3 = third channel key). Press „END"
to enter the setting of the channel. Select with the rotary knob to set the value and press Enter to
confirm the value.
TRIM
With this setting you can set the neutral position of the servos.
Output value is N00
Setting of L30 to N00 to R30 and F30 to N00 and B30.
L = left, N = zero, R = Right, F = Forward B = Back
Press „Enter" and select „TRIM" in the menu. The channel will flash. Press „END" to enter the setting
of the channel. Select with the rotary knob to set the value and press Enter to confirm the value.
7
