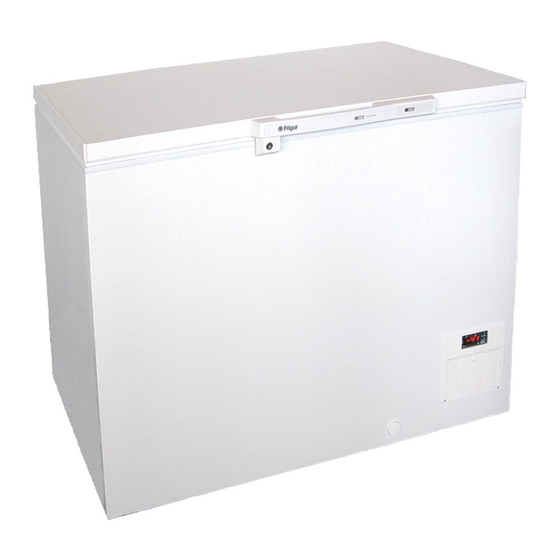
Frigor GLE Gebrauchsanweisung - Seite 6
Blättern Sie online oder laden Sie pdf Gebrauchsanweisung für Gefrierschrank Frigor GLE herunter. Frigor GLE 14 Seiten. Low temperature freezers
Auch für Frigor GLE: Gebrauchsanweisung (9 seiten)

User Instructions Low Temperature Freezers Model GLE
FRONT PANEL COMMANDS
SET:
To display target set point; in pro
gramming mode it selects a
parameter or confirm an opera
tion.
(DEF) To start a manual defrost
(UP) To see the last temperature
alarm happened; in program
ming mode it browses the para-
meter codes or increases the
displayed value.
(DOWN) To see the last temp-
erature alarm happened; hold
pressed it switches the auxiliary
output; in programming mode it
browses the parameter codes or
decreases the displayed value.
KEY COMBINATIONS:
+
To lock & unlock the keyboard.
SET +
To enter in programming mode.
SET +
To return to the room temperature
display.
TEMPERATURE ALARM AND ITS DURATION
RECORDING (HACCP)
XR30C signals and records temperature
alarms, together with their duration and
max value reached. See drawing:
User Instructions Low Temperature Freezers Model UNI/LT
HOW TO SEE THE ALARM DURATION AND MAX
(MIN) TEMPERATURE
If the alarm LED is on, an alarm has taken
place.
To see the kind of alarm, the max (min)
reached temperature and alarm duration
do as follows:
1.
2.
3.
NOTE1: if an alarm is still occurring the "tim"
shows the partial duration.
NOTE2: the alarm is recorded when the tem-
perature come back to normal values
HOW TO RESET A RECORDED ALARM OR ONE
THAT IS STILL OCCURRING
1.
2.
MAIN FUNCTIONS
HOW TO SEE THE SETPOINT
SET
HOW TO CHANGE THE SETPOINT
1.
2.
Livøvej 22 - 8800 Viborg - Tlf. 86 61 34 11 - www.frigor.dk
6
Push the Up or Down key.
On the display the following mes
sage is shown::
"HAL" for high temperature alarm
("LAL" fot the minimum allarm),
followed by the Maximum (mini-
mum) temperature.
Then the "tiM" (tiMe) message is
displayed, followed by the "Dura-
tion" in h.mm.
Then the instrument displays the
temperature once again.
Hold the SET key pressed for more
than 3s, while the recorded alarm
is displayed. (the rSt message will
be displayed)
To confirm the operation, the "rSt"
message starts blinking and the
normal temperature will be dis
played.
1. Push and immediately release
the SET key: the display will show
the Set point value;
2. Push and immediately release
the SET key or wait for 5 sec-
onds to display the probe value
again.
Push the SET key for more than 2
seconds to change the Set point
value;
The value of the set point will be
|
6
