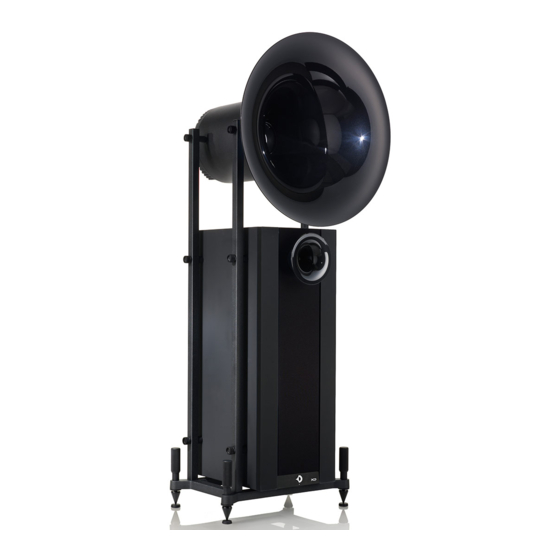
Avantgarde duo xd series Benutzerhandbuch - Seite 5
Blättern Sie online oder laden Sie pdf Benutzerhandbuch für Redner Avantgarde duo xd series herunter. Avantgarde duo xd series 15 Seiten.

SYSTEM INSTALLATION
AUSPACKEN DER HÖRNER
⑩ Kartonage des Mitteltonhorns öffnen.
⑪ Mitteltonhorn aus der Transportfixierung entgegen dem
Uhrzeigersinn herausschrauben.
⑫ Innenliegende Kartonage des Hochtonhorns öffnen.
⑬ Hochtonhorn aus der Transportfixierung entgegen dem
Uhrzeigersinn herausschrauben.
⑩
⑪
8
SYSTEM INSTALLATION
UNPACKING THE HORNS
⑩ Open the packing box of the midrange horn.
⑪ Unscrew the midrange horn from the threaded trans-
port fixture by turning it counter–clockwise.
⑫ Open the inner packing box of the tweeter horn.
⑬ Unscrew the tweeter horn from the threaded transport
fixture by turning it counter–clockwise.
⑫
⑬
SYSTEM INSTALLATION
MONTAGE DER HÖRNER
⑭ Mit dem kleinen Schwamm etwas Öl als Gleitmittel auf
die Gummidichtung an der Vorderkante des Mittelton–
Zylinders auftragen.
⑮ Das Mitteltonhorn vorsichtig im Uhrzeigersinn in das
Innengewinde des Mittelton–Zylinders einschrauben.
Auf richtig festen Sitz achten. Dabei jedoch keine über-
mäßige „Gewalt" ausüben.
⑯ Die an der Kante des Mitteltonhorns umlaufenden
Schaumstoffringe entfernen.
⑰ Das Hochtonhorn vorsichtig im Uhrzeigersinn in das
Innengewinde auf der Frontseite des Subwoofers ein-
schrauben. Auf richtig festen Sitz achten. Dabei jedoch
keine übermäßige „Gewalt" ausüben.
MONTAGE DER PANEELE
⑱ Die Paneele auspacken. Auf der Rückseite der Paneele
befindet sich ein Etikett mit der jeweiligen Positionsan-
gabe (linke oder rechte Seite).
⑲ Die Paneele vorsichtig in die Löcher auf der linken oder
rechten Vorderseite des Subwoofers aufstecken.
⑭
⑮
⑰
SYSTEM INSTALLATION
ATTACHING THE HORNS
⑭ By using the small sponge, apply the lubricating oil to
the inner side and front edge of the rubber ring on the
front of the midrange cylinder.
⑮ Screw the midrange horn into the midrange cylinder by
slowly turning it clockwise until the horn obtains a tight
fit. A good handtight force will suffice, there is no need
to use excessive force!
⑯ Remove the styrofoam rings which protect the edges of
the midrange horns.
⑰ Screw the tweeter horn into thread at the frontside of
the subwoofer by slowly turning it clockwise until the
horn obtains a tight fit. A good handtight force will suf-
fice, there is no need to use excessive force!
ATTACHING THE PANELS
⑱ Unpack the panels. Each panel is labelled on its back-
side indicating its position on the left or the right side of
the subwoofer respectively.
⑲ Carefully attach the panels to the holes on the left and
right side of the subwoofer cabinet front.
⑯
⑲
9
