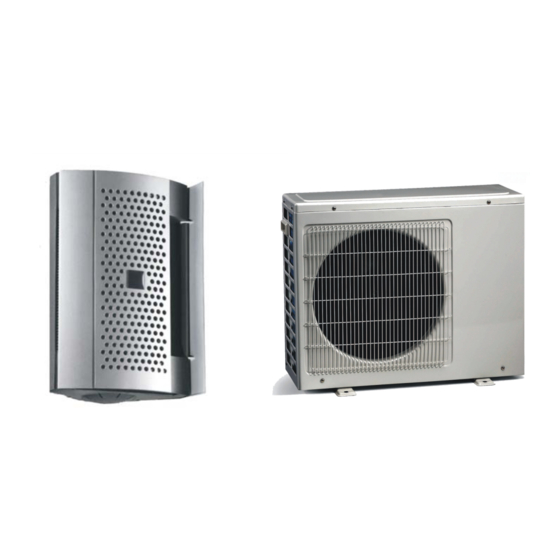
AIRFORCE AF9 Handbuch - Seite 11
Blättern Sie online oder laden Sie pdf Handbuch für Klimagerät AIRFORCE AF9 herunter. AIRFORCE AF9 18 Seiten.

CALL THE AIRFORCE HELP LINE FOR TECHNICAL ASSISTANCE 0845 300 2577
2.4
STEP THREE: CONNECTING THE "QUICK CONNECTOR" AND ELECTRICAL CONNECTIONS
Please refer to pictures :
1. Remove the plastic protection cover protecting the female end of the quick connector located on the
side of the outdoor unit.
2. Open the "release handle" located on the male end of the quick connector.
3. Pull backward the "retractable sleeve" located on the female quick connector (outdoor unit) and hold
it retracted.
4. Remove the protective caps from the connector ends.
5. Insert the male end of the quick connector (at the end of the pipe) into the female end of the quick
connector (mounted on the outdoor unit). Ensure full engagement.
6. Ensure full engagement.
7. Check
the two ends are secure,
8. Close the release handle on the male quick connector towards the female end on the outdoor unit to
release the refrigerant gas.
9. The connection is perfectly done.
If the two ends of the quick connector are not fully engaged well secure, disconnect the two ends of
the quick connector by pulling backwards the "retractable sleeve" on the female end and opening the
release handle on the male end. Then repeat steps 3 to 4.
Establishing electrical connections
Hazard:
Ensure power supply is fully disconnected and isolated before attempting
Installation.
1. Undo the electric cable securing clamp on the out door unit, and place electric cable from the
umbilical line under this clamp.
2. Connect the electrical connection in the umbilical lined to the electrical blocks on the out door unit,
the 2 x connector block plug into each other.
3. Ensure that the connector blocks are securely fitted.
4. Tighten the electrical clamp tightly.
5. Check and tighten the connections before replacing the plastic housing on the outdoor unit.
11
