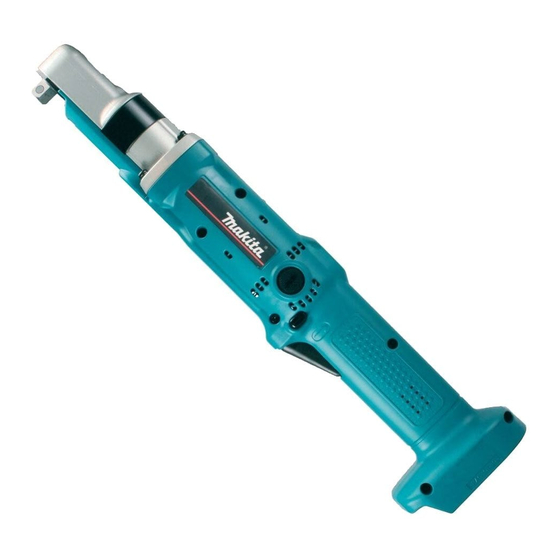
Makita BFL122F Gebrauchsanweisung - Seite 7
Blättern Sie online oder laden Sie pdf Gebrauchsanweisung für Elektrowerkzeug Makita BFL122F herunter. Makita BFL122F 12 Seiten. Cordless angle screwdriver
Auch für Makita BFL122F: Gebrauchsanweisung (16 seiten)

LED indicator / Beeper
Led indicator / Beeper on the tool shows the following
functions.
Function
This function works when the tool has reached
the preset fastening torque and normal
Auto-stop fastening
tightening has been completed. This helps
overtightening to be avoided.
For approximately one second after auto-stop
Delayed re-start
fastening, the tool does not start even if the
switch trigger is pulled.
Insufficient fastening has been performed
Warning against
when the switch trigger has released before
insufficient fastening
reaching the preset fastening torque.
This indicates the appropriate time to replace
Warning for battery
the battery cartridge when the battery power
cartridge capacity
becomes low.
Checking the
This function works when the battery power
remaining battery
is almost used up. At this time, tool stops
capacity, Autostop
immediately.
This function works to check the proper
Check the LED
operation of the LED indicator, lamp and
indicator, lamp and
beeper when a battery cartridge has been
beeper operation
inserted into the tool.
This function works when an abnormal drop
Anti-reset of
of the battery voltage occurs for some reason,
controller
and the tool stops.
This function works when the temperature
Overheat
of the controller goes up very highly,
and the tool stops.
This function works to avoid the tool's
Operation error of
immediate start upon insertion of battery
the switch trigger
cartridge into the tool with the switch trigger
being pulled.
The tool automatically stops without the clutch
Warning for limit of
working when exceeding the fastening capacity
the fastening
limit.
capacity
013073
Status
Status of the LED indicator/beeper
LED indicator
Lights up in green for
approximately one
second.
Lights up in red.
Flickers in red slowly.
Lights up in red.
Lights up first in green,
next red.
(And then the lamp
comes on.)
Flickers in red and
green alternatively.
Flickers in red quickly.
Flickers in red and
green alternatively.
Flickers in red and
green alternatively.
7
Action to be taken
Beeper
-
Retighten the
A long beep
screw.
Replace the battery
A series of long
with fully charged
beeps
one.
Replace the battery
A long beep
with fully charged
one.
A series of very
short beeps
Replace the battery
A series of short
with fully charged
beeps
one.
Remove the battery
cartridge immediately
A series of short
beeps
and cool the tool
down.
A series of short
Release the switch
beeps
trigger.
Remove the battery
cartridge and then
A series of short
install it again.
beeps
Be sure to use the
tool under load within
its capacity.
-
-
