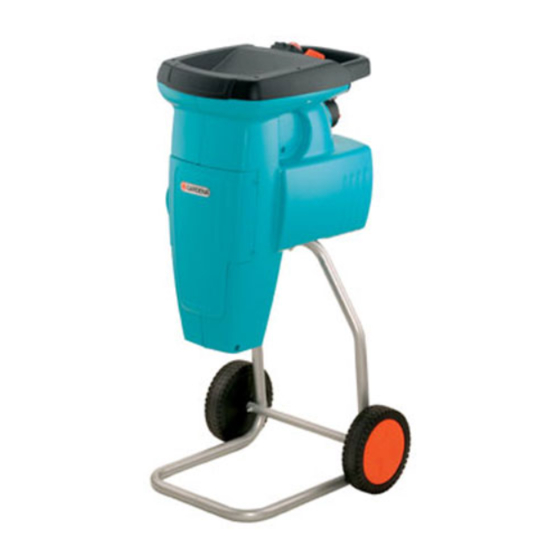
Gardena LH 2500 Anleitung Handbuch - Seite 4
Blättern Sie online oder laden Sie pdf Anleitung Handbuch für Rasen- und Gartengeräte Gardena LH 2500 herunter. Gardena LH 2500 10 Seiten. Quiet shredder

3. Assembly
Assembling the Trolley :
3
4. Putting into Operation
Shredding :
D
E
1. Stand the shredder on the
feeding funnel
2. Unscrew the 4 M6 nuts
remove the transport lock
The transport lock must be kept
4
for transporting without the trolley.
3. Push 2 round-head bolts
2
M6 x 55
in the trolley
5
wheel axle
4. Fit a washer (
and secure the wheel axle
5. Insert the bolts
serrated lock washers (
8
bolts
6. Push the wheel caps
7. Fit the trolley
8. Fit a washer
1
secure the trolley
Danger ! Risk of injury !
A
V Always wear gloves, eye protection and ear pro-
tection when operating your shredder.
Switching On the Shredder :
Make sure the feeding funnel is empty before you switch on
C
the shredder.
1. Lift up strain relief clamp
sion cable into the shredder socket.
2. Plug mains power extension cable into a mains socket.
3. Press the lock
position.
4. Press the green ON switch
You may notice a clicking sound when you switch on your shredder
above all when your shredder is new. This noise is caused by the
designed position of the counter-roller of the cutting cylinder and is
completely normal. The noise will diminish to a minimum over time.
Switching Off the Shredder :
The cutting blades continue to move for a few
A
seconds after you switch off the shredder.
Do not turn off the motor until the shredder is completely empty
B
otherwise it may be difficult to turn the shredder on again.
v Press the red OFF switch
1
.
2
and
3
.
6
through the holes
4
and mount the
7
.
∅
5
6 mm)
on each of the 2 round-head bolts
7
using 2 M 6 nuts
8
through the wheels
∅
8 mm)
7
in the wheel axle
.
A
onto the wheels
4
on the feeding funnel
∅
5
6 mm
onto each of the 4 bolts and
4
with 4 M6 nuts
B
and plug the mains power exten-
D
and turn the switch
C
.
C
.
4
6
7
5
0
9
2
2
.
9
, slide on the
0
and tighten the
9
.
1
.
2
.
E
to the Forwards
8
A
6
11
