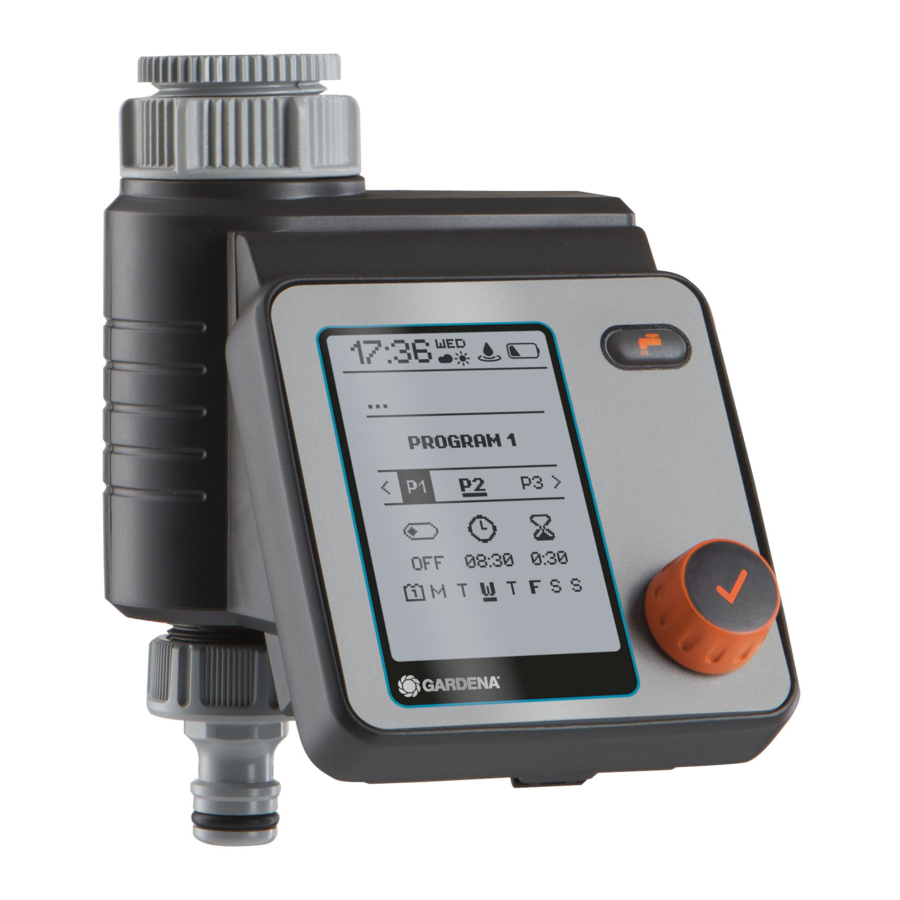
Gardena Master Benutzerhandbuch - Seite 8
Blättern Sie online oder laden Sie pdf Benutzerhandbuch für Rasen- und Gartengeräte Gardena Master herunter. Gardena Master 19 Seiten. Water control
Auch für Gardena Master: Benutzerhandbuch (18 seiten), Benutzerhandbuch (19 seiten)

– 0 dots for loamy soil
v Sensor response when soil is quite dry.
– 5 dots for sandy soil
v Sensor response when soil is very moist.
Soil Moisture Sensor, Art. 1188
(optionally available, Models up to 2020)
v (Fig. D and N):
1 Connect soil moisture sensor
After a soil moisture sensor is connected, the
"sensor activated / deactivated" display will appear –
this can take up to 1 minute. Select an option to
activate/deactivate the sensor response. Use the
switching point controller on the soil moisture sen-
sor to set the level of soil moisture that must be
achieved before the sensor responds (see Opera-
tor's Manual for GARDENA Soil moisture sensor).
GARDENA Automatic Water Distributor,
Art. 1197 (optionally available)
v (Fig. O):
1 Menu: Water Distributor automatic
This menu allows you to control up to
6 water lines with the Automatic Water Distributor.
This includes a necessary minimum pause of
5 minutes between the outlets and a minimum
watering duration of 30 seconds (display: 1 min).
This time ensures reliable switch-over to the next
outlet and makes sure that the schedules and
outlets are correctly linked (for details of the com-
missioning process, see the Operating Instructions
for the Water Distributor).
10
2 Select amount of active water lines
You can select any number between 2 and 6.
Seal any outlets on the Water Distributor that you
do not need with end caps and move the setting
lever to the "OFF" position.
3 Create schedules 1 ‒ 6
When prompted to do so, enter watering schedules
L1 – L6 on the display. For this, use the standard
method for entering schedules based on the start
time, duration and frequency.
Note: Schedules are not allowed to overlap. If you
enter a schedule that overlaps with the next one,
the start time of the next watering operation will
be postponed and a pause of 5 minutes will be
inserted between the operations. Changes to the
schedules can be made in the "Water Distributor"
menu.
• Start times: Define the start times for the water
lines in chronological order. This makes it easier to
calculate and suggest the next possible start time.
• Duration: The total watering duration for all outlets
– including the necessary pauses – must not
exceed 24 hours.
• Frequency: Different weekdays can be selected.
Note: To ensure correct switch-over and correct
linking of the schedules and outlets, any outlets
that are not scheduled to operate on a particular
day will still be activated for a period of 30 sec-
onds on the day concerned.
