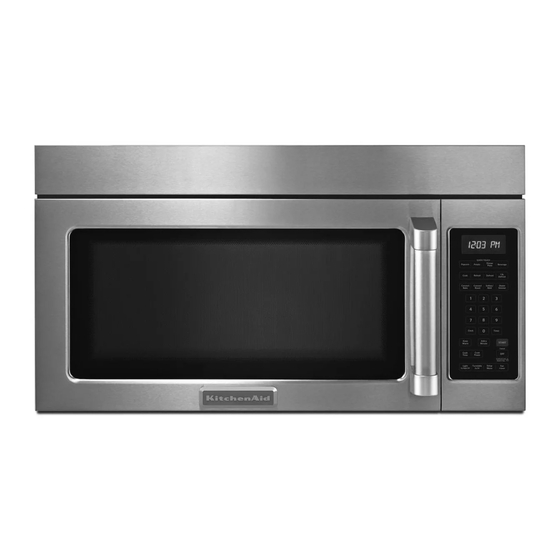
KitchenAid KHMC1857BSP Installationsanleitung Handbuch - Seite 12
Blättern Sie online oder laden Sie pdf Installationsanleitung Handbuch für Mikrowellenherd KitchenAid KHMC1857BSP herunter. KitchenAid KHMC1857BSP 12 Seiten. Built-in oven & microwave
Auch für KitchenAid KHMC1857BSP: Gebrauchsanweisung (9 seiten), Spezifikationen (1 seiten), Eingeschränkte Garantie (1 seiten)

Recommended Vent Length
A 3
x 10
(8.3 x 25.4 cm) rectangular or 6
"
"
should be used.
The total length of the vent system including straight vent,
elbow(s), transitions and wall or roof caps must not exceed the
equivalent of 140 ft (42.7 m) for either type of vent. See
"Recommended Standard Fittings" section for equivalent lengths.
For best performance, use no more than three 90° elbows.
To calculate the length of the system you need, add the equivalent
lengths of each vent piece used in the system. See the following
examples:
3 " x 10" (8.3 x 25.4 cm) vent system = 73 ft (22.2 m) total
A
2 ft
(0.6 m)
A. One 3 " x 10" (8.3 x 25.4 cm) 90° elbow = 25 ft (7.6 m)
B. 1 wall cap = 40 ft (12.2 m)
C. 2 ft (0.6 m) + 6 ft (1.8 m) straight = 8 ft (2.4 m)
Call your authorized dealer or service center. When you call, you
will need the microwave oven model number and serial number.
Both numbers can be found on the model and serial number
plate, which is located behind the microwave oven door on the
front frame of the microwave oven.
If you need additional assistance, call us at our toll free number or
visit our website listed in the User Instructions.
W10502372A
SP PN W10502375A
© 2012. All rights reserved.
(15.2 cm) round vent
"
B
6 ft (1.8 m)
C
ASSISTANCE
6" (15.2 cm) vent system = 73 ft (22.2 m) total
A
2 ft
(0.6 m)
C
A. Two 90° elbows = 20 ft (6.1 m)
B. 1 wall cap = 40 ft (12.2 m)
C. 1 rectangular to round transition piece = 5 ft (1.5 m)
D. 2 ft (0.6 m) + 6 ft (1.8 m) straight = 8 ft (2.4 m)
If the existing vent is round, a rectangular to round transition piece
must be used. In addition, a rectangular 3" (7.6 cm) extension vent
between the damper assembly and rectangular to round transition
piece must be installed to keep the damper from sticking.
Replacement Parts
If any of the installation hardware needs to be replaced, call us at
our toll free number listed in the User Instructions.
Following is a list of available replacement parts. You will need
your model number located on the front facing of the microwave
oven opening, behind the door.
Damper Assembly
Mounting Plate
Upper Cabinet Template
Wall Template
Mounting Screw Kit (includes parts A-G in "Parts Supplied" in
the "Tools and Parts" section)
Vent Deflector
B
6 ft (1.8 m)
D
Printed in China
6/12
