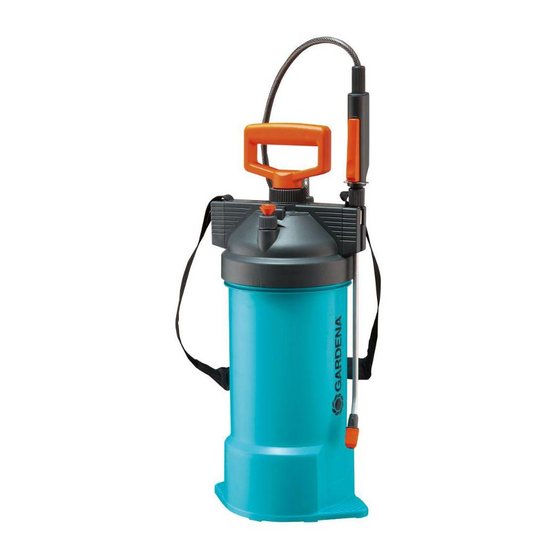
Gardena 869 Betriebsanleitung - Seite 4
Blättern Sie online oder laden Sie pdf Betriebsanleitung für Farbspritzgerät Gardena 869 herunter. Gardena 869 9 Seiten. 3 l and 5 l
Auch für Gardena 869: Betriebsanleitung (3 seiten)

3. Assembly
3.1. General Assembly Instructions for all Pressure Sprayers
(Art. No. 867 / 869 / 875 / 879 / 880)
Mounting the spray tube
in the hand valve :
Art. 880
1
3
Attaching the spray hose
to the hand valve :
2 6 4 5
3.2. Assembly Instructions for Pressure Sprayer Art. No. 869
Installing the filter
and suction pipe :
8
7
Attaching the spray hose
to the container cap :
5
0
A
B
Attaching the shoulder strap :
C
D
1.
2.
12
1. Unscrew the union nut
2. Push the spray tube
2
3. Tighten the union nut
(do not use pliers).
The sprayer tube of art. 880 is telescopic (min. / max. sprayer
tube length 60 / 100 mm).
1. Push the long union nut
2. Push the spray hose
2
hand valve
3. Tighten the long union nut
(do not use pliers).
1. Shut the filter
into the suction pipe
2. Guide the suction pipe
the eyelet at the pump tube
and press firmly into the opening in
the container cap.
1. Push the short union nut
2. Push on the spray hose
beginning of the thread
3. Screw the short union nut
and tighten by hand (do not use pliers).
1. Unscrew the screw
spray tube holder
2. Put the shoulder strap
E
plastic tube
3. Reattach the spray tube holder
using a screwdriver.
F
1
on the hand valve
3
all the way into the hand valve
1
on the hand valve
4
over the spray hose
5
with connection nipple
.
4
on the hand valve
7
and press firmly
8
.
8
through
9
0
over the spray hose
5
so that it covers at least the
A
.
0
onto the container cap
C
using a screwdriver and remove the
D
.
E
with the elongated hole over the
F
.
D
2
.
2
2
by hand
5
.
6
into the
2
by hand
9
5
.
B
and screw in the screw
.
8
C
