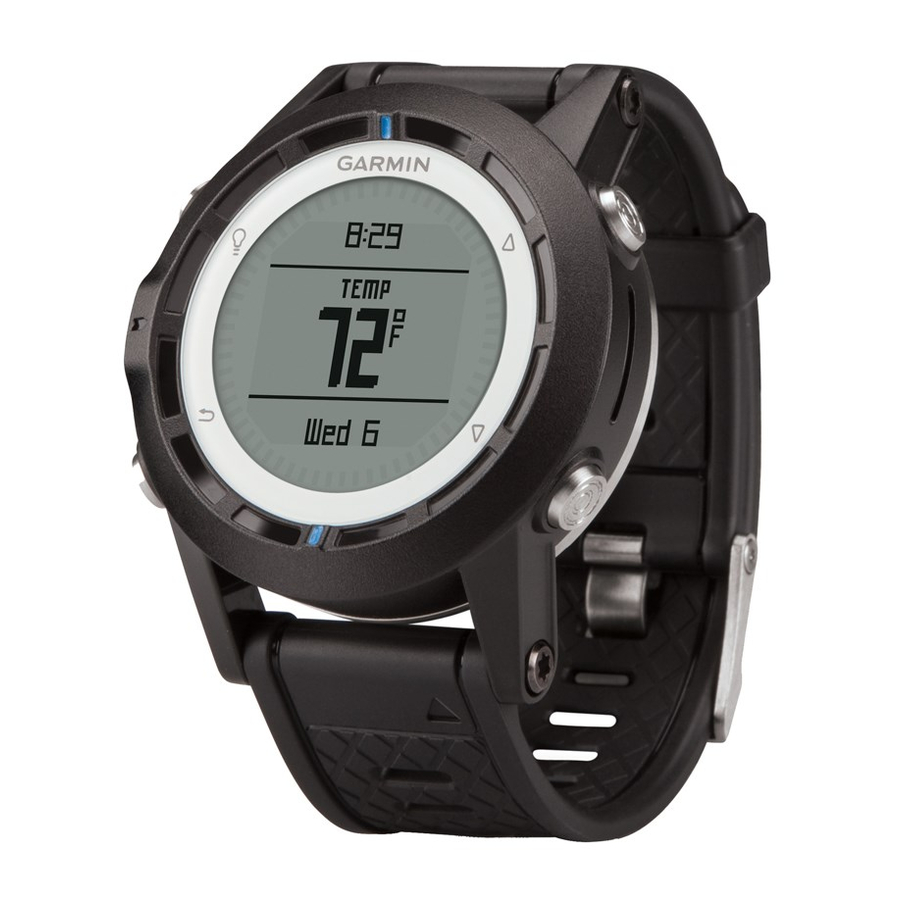
Garmin quatix Benutzerhandbuch - Seite 12
Blättern Sie online oder laden Sie pdf Benutzerhandbuch für Siehe Garmin quatix herunter. Garmin quatix 22 Seiten. Gps watch
Auch für Garmin quatix: Konformitätserklärung (6 seiten), Schnellstart-Handbuch (6 seiten), Informationen zum Produkt (44 seiten)

When the devices are paired, the autopilot screen appears
on the quatix.
After your device is paired with your autopilot, it automatically
reconnects with your autopilot every time it is within range.
NOTE: To pair with a different autopilot, hold
the existing autopilot pair, and repeat steps 2 and 3.
Using Autopilot
Before you can use the quatix to control an autopilot, you must
install and configure a compatible Garmin GHP™ autopilot
system and pair your quatix with the GHC device. For more
information, see the owner's manual for your autopilot.
1
Select the blue key.
2
Select Autopilot.
3
Select an option:
• To engage the autopilot heading hold, hold a steady
course, select Engage, and release the helm.
• To change the heading in 1° increments, with the autopilot
engaged, select
for port and
• To perform a step turn, with the autopilot engaged, hold
for port and
for starboard.
• To activate a preset action, select Presets, and select a
button action. A graphic displays a plot of the action
performed by the button.
• To take the helm, select Standby.
• To view the clock and data pages, select
NOTE: To quickly disengage the autopilot while viewing
the clock or data pages, select the blue key, and select
Standby.
Clock
Setting the Alarm
1
Select the blue key.
2
Select Clock > Alarm Clock > Add Alarm.
3
Use the blue key,
, and
4
Select Tone, Vibration, or Tone & Vib..
5
Select Once, Daily, or Weekdays.
Starting the Countdown Timer
1
Select the blue key.
2
Select Clock > Timer.
3
Use the blue key,
, and
4
If necessary, select Notification, and select an option.
5
Select Start.
Using the Stopwatch
1
Select the blue key.
2
Select Clock > Stopwatch.
3
Select Start.
Adding a Custom Time Zone
1
Select the blue key.
2
Select Clock > Alt. Zones > Add Zone.
8
and
to reset
for starboard.
.
to set the time.
to set the time.
3
Select a time zone.
The custom time zone page is added to the current profile.
Editing a Custom Time Zone
1
Select the blue key.
2
Select Clock > Alt. Zones.
3
Select a time zone.
4
Select an option:
• To change the time zone, select Edit Zone.
• To customize the name of the time zone, select Edit
Label.
Alerts
You can set the device to alert you in many different situations
where your awareness of the surrounding conditions or other
data is important. There are three types of alerts: event alerts,
range alerts, and recurring alerts.
Event alert: An event alert notifies you once. The event is a
specific value. For example, you can set the device to alert
you when you reach a specified elevation.
Range alert: A range alert notifies you every time the device is
above or below a specified range of values. For example,
you can set the device to alert you when your speed is below
5 knots and over 15 knots.
Recurring alert: A recurring alert notifies you every time the
device records a specified value or interval. For example,
you can set the device to alert you every 30 minutes.
Alert Name Alert Type
Anchor Drag Event
Proximity
Recurring
Distance
Event,
recurring
Time
Event,
recurring
Elevation
Event, range,
recurring
Nav. Arrival Event
Speed
Range
Battery
Event
Setting a Proximity Alarm
Proximity alarms alert you when you are within a specified
range of a particular location.
1
Select the blue key.
2
Select Alerts > Proximity > Edit > Create New.
3
Select a location.
4
Enter a radius.
5
Select Done.
Navigating with Sight 'N Go
You can point the device at an object in the distance, such as a
water tower, lock in the direction, and navigate to the object.
1
Select the blue key.
2
Select GPS Tools > Sight 'N Go.
3
Point the blue marks on the bezel at an object.
4
Select the blue key.
Description
You can set a maximum distance for
your vessel to drift after dropping anchor.
See
page
8.
You can set an interval or a custom
distance from your final destination.
You can set an interval or a custom time
from your estimated time of arrival.
You can set minimum and maximum
elevation values. You can also set the
device to alert you when you ascend or
descend a specified amount.
You can set alerts for reaching waypoints
and the final destination of a track or
route.
You can set minimum and maximum
speed values.
You can set a minimum battery power
value.
Applications
