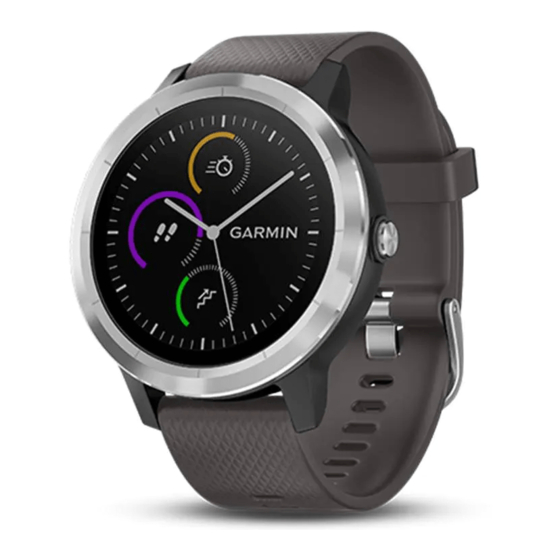
Garmin VIVOACTIVE 3 Element Benutzerhandbuch - Seite 17
Blättern Sie online oder laden Sie pdf Benutzerhandbuch für Siehe Garmin VIVOACTIVE 3 Element herunter. Garmin VIVOACTIVE 3 Element 28 Seiten.

You can use the Garmin Express application to upload
your activity data to your Garmin Connect account
and to send data, such as workouts or training plans,
from Garmin Connect website to your device. You can
also install device software updates and manage your
Connect IQ apps.
1 Connect the device to your computer using the
USB cable.
2 Go to Garmin.com.sg/express.
3 Download and install the Garmin Express
application.
4 Open the Garmin Express application, and select
Add Device.
5 Follow the on-screen instructions.
Customizing Your Device
Changing the Watch Face
You can choose from several preloaded watch faces
or use a Connect IQ watch face that is downloaded to
your device
(Connect IQ Features,
also customize a preloaded watch face or create a new
one
(Creating a Custom Watch Face,
1 From the watch face, hold the touchscreen.
2 Select Watch Face.
3 Swipe up or down to scroll through the available
watch faces.
4 Tap the screen, and select Apply to activate the
displayed watch face.
Creating a Custom Watch Face
You can customize the style and data fields for the
watch face.
1 From the watch face, hold the touchscreen.
2 Select Watch Face.
3 Select an option:
• To customize an existing watch face, select the
watch face, and select Customize.
• To create a new watch face, swipe to the bottom
of the watch face list, and select Create New.
4 Select Dial.
5 Swipe up or down to scroll through the analog
and digital dials, and tap the screen to select the
displayed dial.
6 Swipe left to the Data page.
A green border indicates the customizable data
fields for this dial.
7 Select each data field you want to customize, and
select the data to display in it.
8 Swipe left, and select Hands.
NOTE: This option is available only for analog dials.
9 Swipe up or down to scroll through the hand styles,
and tap the screen to select the displayed hands.
Customizing Your Device
page 3). You can
page 13).
10 Swipe left, and select Accent.
11 Select an accent color, and select
12 Swipe left, and select Done.
The device sets the new watch face as your active
watch face.
Customizing the Controls Menu
You can add, remove, and change the order of the
shortcut menu options in the controls menu
Controls Menu,
page 1).
1 Hold the key.
The controls menu appears.
2 Hold the touchscreen.
The controls menu switches to edit mode.
3 Select the shortcut you want to customize.
4 Select an option:
• To change the location of the shortcut in the
controls menu, select the location where you
want it to appear, or drag the shortcut to a new
location.
• To remove the shortcut from the controls menu,
select .
5 If necessary, select
controls menu.
NOTE: This option is available only after you
remove at least one shortcut from the menu.
Activities and App Settings
These settings allow you to customize each preloaded
activity app based on your needs. For example, you
can customize data pages and enable alerts and
training features. Not all settings are available for all
activity types.
Press the key, select an activity, and select Settings.
Data Screens: Enables you to customize data
screens and add new data screens for the activity
(Customizing the Data Screens,
Alerts: Sets the training alerts for the activity
page 14).
Laps: Sets the options for the Auto Lap
(Marking Laps Using the Auto Lap Feature,
page 14).
Auto Pause: Sets the device to stop recording data
when you stop moving or when you drop below a
specified speed
(Using Auto Pause,
Auto Scroll: Enables you to move through all of the
activity data screens automatically while the timer
is running
(Using Auto Scroll,
GPS: Sets the mode for the GPS antenna. Using
GLONASS provides increased performance in
challenging environments and faster position
acquisition. Using the GLONASS option can reduce
battery life more than using the GPS option only.
Background: Sets the background color of each
.
(Using the
to add a shortcut to the
page 14).
(Alerts,
feature
®
page 15).
page 15).
13
