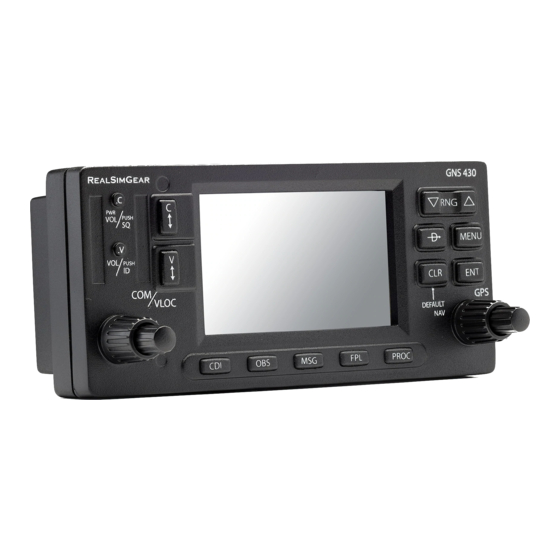
Bottom Row Keys
C
The CDI key (
) is used to toggle which navigation source (GPS or
VLOC) provides output to an external HSI or CDI.
O
The OBS key (
) is used to select manual or automatic sequencing
of waypoints. Pressing the OBS key selects OBS mode, which will retain
the current "active to" waypoint as your navigation reference even after
passing the waypoint (i.e., prevents sequencing to the next waypoint).
Pressing the OBS key again will return to normal operation, with automat-
ic sequencing of waypoints. Whenever OBS mode is selected, you may set
the desired course to/from a waypoint using the OBS Page, or an external
OBS selector on your HSI or CDI.
M
The message key (
) is used to view system messages and to alert
you to important warnings and requirements.
F
The flight plan key (
) allows you to create, edit, activate and invert
flight plans, as well as access approaches, departures and arrivals. A closest
point to flight plan feature is also available from the flight plan key.
P
The procedures key (
) allows you to select approaches, departures
and arrivals from your active flight plan. When using a flight plan, available
procedures for your departure and/or arrival airport are offered automati-
cally. Otherwise, you may select the desired airport, then the desired
procedure.
KEYS / Power On
Powering on the GNS 430
1. Rotate the COM power/volume knob
(
) clockwise to turn the unit on
k
and set the desired radio volume.
2. A welcome page appears briefly, fol-
lowed by the land data page, as the
unit conducts a self-test to ensure
proper operation.
3. Once the self-test concludes, the
database confirmation page is dis-
played, showing the effective and
expiration dates of the Jeppesen
database on the NavData ® card.
Press
E
to acknowledge the
database page and proceed to the
instrument panel self-test page.
4. The instrument panel self-test page
allows you to verify that the GNS 430
is communicating properly with
in-panel instruments. Compare
on-screen indications with the
information depicted on connected
instruments, such as the CDI, HSI,
RMI and/or external annunciators.
Once you have verified proper
operation, press
E
to display
the Satellite Status Page.
3

