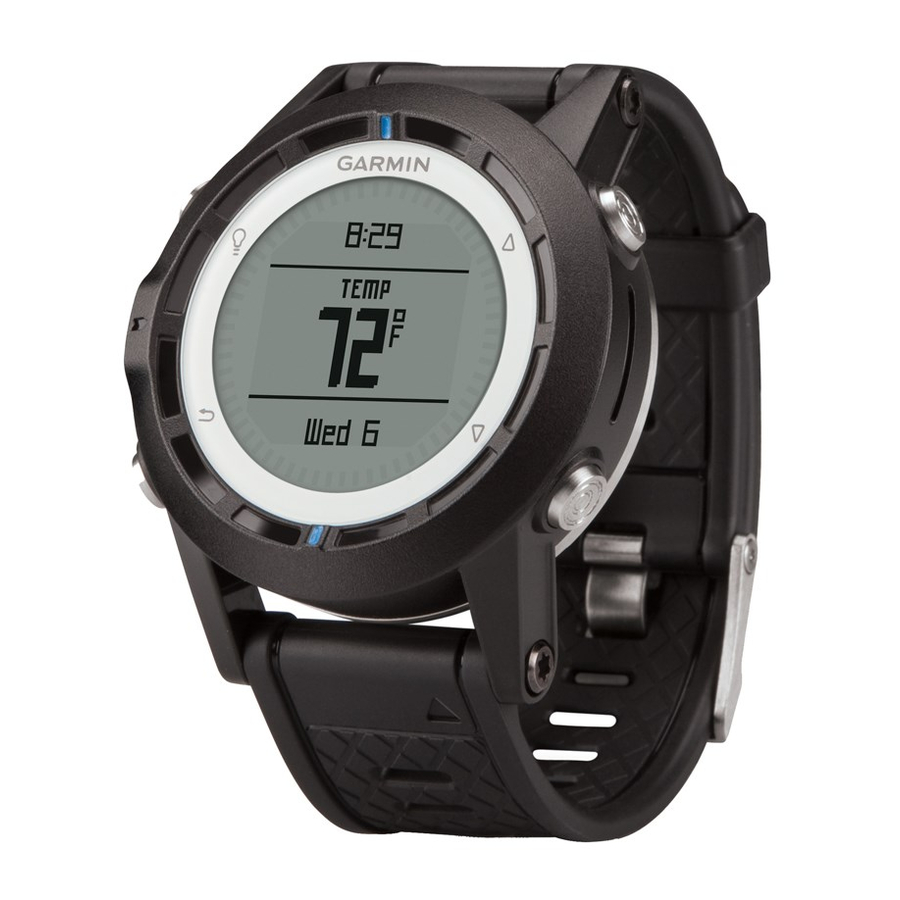
Garmin quatix Benutzerhandbuch - Seite 15
Blättern Sie online oder laden Sie pdf Benutzerhandbuch für GPS-System für die Schifffahrt Garmin quatix herunter. Garmin quatix 22 Seiten. Gps watch
Auch für Garmin quatix: Konformitätserklärung (6 seiten), Schnellstart-Handbuch (6 seiten), Informationen zum Produkt (44 seiten)

Calibrate: Allows you to manually calibrate the compass sensor
(page
2).
Setting the North Reference
You can set the directional reference used in calculating
heading information.
1
Select the blue key.
2
Select Setup > Sensors > Compass > North Ref..
3
Select an option:
• To set geographic north as the heading reference, select
True.
• To set the magnetic declination for your location
automatically, select Magnetic.
• To set grid north (000º) as the heading reference, select
Grid.
• To set the magnetic variation value manually, select User,
enter the magnetic variance, and select Done.
Altimeter Settings
Select Setup > Sensors > Altimeter.
Auto Cal.: Allows the altimeter to self-calibrate each time you
turn on GPS tracking.
Baro. Plot: Variable records changes in elevation while you are
moving. Fixed assumes the device is stationary at a fixed
elevation, so the barometric pressure should only change
due to weather. Amb. Press. records ambient pressure
changes over a period of time.
Elev. Plot: Sets the device to record elevation changes over a
period of time or distance.
Calibrate: Allows you to manually calibrate the altimeter sensor.
Setting the Device Tones
You can customize tones for messages and keys.
1
Select the blue key.
2
Select Setup > Tones.
3
Select Messages or Keys.
4
Select an option.
Display Settings
Select Setup > Display.
Backlight: Adjusts the backlight level and the length of time
before the backlight turns off.
Contrast: Adjusts the screen contrast.
Map Settings
Select Setup > Map.
Orientation: Adjusts how the map is shown on the page. North
Up shows North at the top of the page. Track Up shows your
current direction of travel toward the top of the page.
Auto Zoom: Automatically selects the appropriate zoom level
for optimal use on your map. When Off is selected, you must
zoom in or out manually.
Points: Selects the zoom level for points on the map.
Track Log: Allows you to show or hide tracks on the map.
Go To Line: Allows you to select how the course appears on
the map.
Map Colors: Allows you to select whether land or water is
highlighted on the map.
Track Settings
Select Setup > Tracks.
Device Information
Method: Selects a track recording method. Auto records the
tracks at a variable rate to create an optimum representation
of your tracks. If you select Distance or Time, you can set
the interval rate manually.
Interval: Allows you to set the track log recording rate.
Recording points more frequently creates a more-detailed
track, but it fills the track log faster.
Auto Start: Sets the device to record your track automatically
when you select Start GPS.
Auto Save: Sets the device to automatically save your track
when you turn off GPS.
Auto Pause: Sets the device to stop recording your track when
you are not moving.
Time Settings
Select Setup > Time.
Time Page: Allows you to customize the appearance of the time
of day.
Format: Allows you to select a 12-hour or a 24-hour display
time.
Time Zone: Allows you to select the time zone for the device.
You can select Auto to set the time zone automatically
based on your GPS position.
Changing the Units of Measure
You can customize units of measure for distance and speed,
elevation, depth, temperature, and pressure.
1
Select the blue key.
2
Select Setup > Units.
3
Select a measurement type.
4
Select a unit of measure.
Position Format Settings
NOTE: Do not change the position format or the map datum
coordinate system unless you are using a map or chart that
specifies a different position format.
Select Setup > Pos. Format.
Format: Sets the position format in which a given location
reading appears.
Datum: Sets the coordinate system on which the map is
structured.
Spheroid: Shows the coordinate system the device is using.
The default coordinate system is WGS 84.
Customizing the Main Menu
You can add, delete, or move items in the main menu.
1
Select the blue key.
2
Select Setup > Menu.
3
Select a menu item.
4
Select an option:
• Select Move Up or Move Down to change the location of
the item in the list.
• Select Remove to delete an item from the list.
• Select Insert to add an item to the list.
Device Information
Viewing Device Information
You can view the unit ID, software version, and license
agreement.
1
Select the blue key.
11
