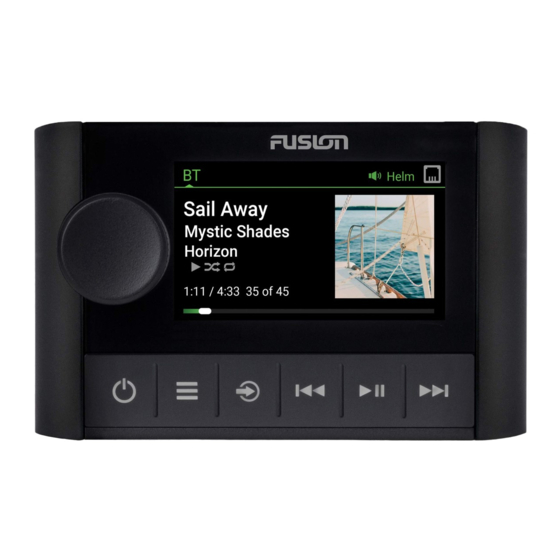
Garmin Fusion Apollo MS-ERX400 Installationsanleitung Handbuch - Seite 2
Blättern Sie online oder laden Sie pdf Installationsanleitung Handbuch für Schiffsausrüstung Garmin Fusion Apollo MS-ERX400 herunter. Garmin Fusion Apollo MS-ERX400 8 Seiten.
Auch für Garmin Fusion Apollo MS-ERX400: Benutzerhandbuch (20 seiten)

Mounting Considerations
• You must mount the remote control on a flat surface.
• If there is not much clearance behind the mounting surface or you prefer to drill a smaller hole in the
mounting surface, you can use an MS-ERX400 spacer accessory (010-12922-02)
• If you are connecting the remote control to a stereo that may be exposed to water, add a drip loop to the
cable near the stereo to allow water to drip off of the cable and avoid damage to the stereo. The drip loop
should include the Ethernet cable and the power wires.
• If you need to mount the remote control on the exterior of a boat, you must mount it in a location far above
the waterline, where it is not submerged, and where it cannot be damaged by docks, pilings, or other pieces of
equipment.
• To avoid interference with a magnetic compass, you must install the remote control at least 15 cm (5.9 in.)
away from a compass.
Mounting the Remote Control
Do not use the remote control as a template when drilling the mounting holes because this may damage the
remote control and void the warranty.
Do not apply grease or lubricant to the screws when fastening the remote control to the mounting surface.
Grease or other lubricants can cause damage to the remote control housing.
Before you can mount the remote control, you must select a location in accordance with the mounting
considerations.
1 Trim the template and adhere it to the mounting surface.
2 Drill a hole inside the corner of the dashed line on the template, and use a jigsaw or rotary cutting tool to cut
along the inside of the solid line on the template.
NOTE: If you are using the accessory spacer and you would like a smaller hole in the surface, use a 44 mm
3
(1
/
) hole saw to cut the hole shown on the template.
4
3 Ensure the mounting holes on the remote control
2
NOTICE
line up with the pilot holes on the template.
