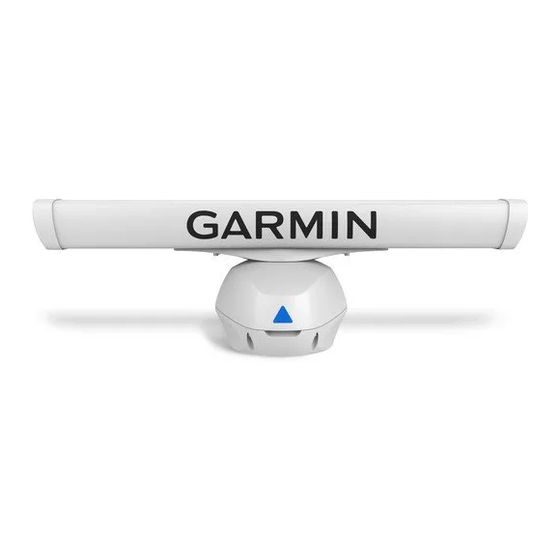
Garmin GMR Fantom 256 Installationsanleitung Handbuch - Seite 10
Blättern Sie online oder laden Sie pdf Installationsanleitung Handbuch für Schiffsausrüstung Garmin GMR Fantom 256 herunter. Garmin GMR Fantom 256 19 Seiten.

Grounding the Radar
The radar must be connected to the appropriate type of ground using 3.31 mm² (12 AWG) copper wire (not
included).
1 Route a 3.31 mm² (12 AWG) copper wire to a water ground location and to the radar pedestal.
2 Connect the wire to the ground connector (
3 Coat the ground screw and crimp connector with marine sealant.
4 Connect the other end of the wire to the water ground location on the boat, and coat the connection with
marine sealant.
5 Select an option:
• If your radar was not packaged with a voltage converter, no further grounding is necessary.
• If your radar was packaged with a voltage converter, proceed to the next step.
6 Route a different 3.31 mm² (12 AWG) copper wire to water ground location and to the voltage converter.
7 Loosen a screw on one corner of the voltage converter, and secure the copper wire to the screw.
8 Coat the screw and wire on the voltage converter with marine sealant.
9 Connect the other end of the wire to the water ground location on the boat, and coat the connection with
marine sealant.
Garmin Marine Network Considerations
This device connects to Garmin Marine Network devices to share radar data with compatible devices on the
network. When connecting to a Garmin Marine Network device, observe these considerations.
• A Garmin Marine Network cable must be used for all Garmin Marine Network connections.
◦ You cannot cut a Garmin Marine Network cable. You must use a longer cable or add extensions where
necessary.
◦ Garmin Marine Network cables and extension cables are available from your Garmin dealer.
• If necessary, you may need to use a Garmin Marine Network adapter cable to connect this device to your
chartplotter or GMS
™
10 network port expander.
10
) on the pedestal using the pre-installed crimp connector
.
