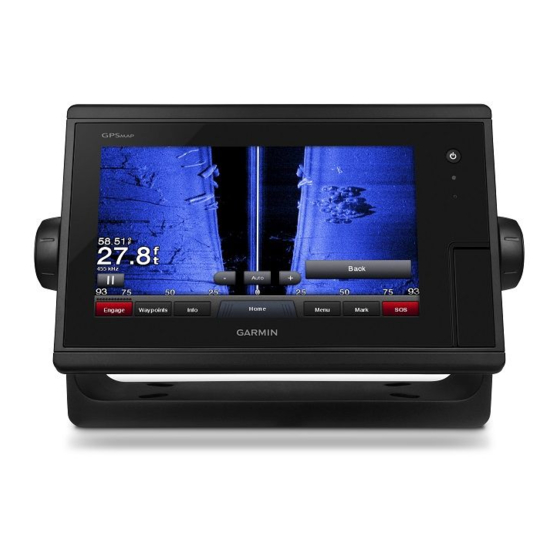
Garmin GPSMAP 7400 Series Installationshinweise - Seite 3
Blättern Sie online oder laden Sie pdf Installationshinweise für Schiffsausrüstung Garmin GPSMAP 7400 Series herunter. Garmin GPSMAP 7400 Series 7 Seiten.
Auch für Garmin GPSMAP 7400 Series: Installationsanleitung Handbuch (9 seiten)

21
If you will have access to the back of the device, apply
marine sealant around the cutout.
22
Place the device into the cutout.
23
Secure the device to the mounting surface using the included
M4 screws
.
24
Wipe away all excess marine sealant.
25
Install the decorative bezel by snapping it in place around the
edges of the device.
Cable and Connection Considerations
If your model has a DVI port, a blue rubber seal is included. This
seal must be installed between the DVI port and DVI cable
connector to avoid damage to the connectors.
• For easer cable routing, the Garmin Marine Network cables,
the power and NMEA
0183 cables, and the transducer cable
®
are packaged without the locking rings installed. You should
route the cables before you install the locking rings.
• After connecting a locking ring to a cable, make sure the ring
is securely connected and the o-ring is in place so the power
or data connection remains secure.
About the Wiring Harness
• The wiring harness connects the device to power, NMEA
0183 devices, and a lamp or a horn for visible or audible
alerts.
• The wiring harness is packaged without the locking ring
installed. You should route the cable before you install the
locking ring.
• After connecting a locking ring to the wiring harness, you
should make sure the ring is securely connected and the o-
ring is in place so the connection remains secure.
• The device has two internal NMEA 0183 ports that are used
to connect to NMEA 0183 compliant devices. When
connecting to a device for both transmitting and receiving,
you must make sure to use wires from the same internal
NMEA 0183 port.
• If it is necessary to extend the NMEA 0183 or alarm wires,
you must use 22 AWG (.33 mm²) wire.
Item
Wire Color
Wire Function
Red
Power
Black
Ground (power and NMEA 0183)
Blue
NMEA 0183 internal port 1 Tx (out)
Brown
NMEA 0183 internal port 1 Rx (in)
Gray
NMEA 0183 internal port 2 Tx (out)
Violet
NMEA 0183 internal port 2 Rx (in)
Orange
Accessory on
Yellow
Alarm low
Connecting the Wiring Harness to Power
When connecting the power cable, do not remove the in-line
fuse holder. To prevent the possibility of injury or product
damage caused by fire or overheating, the appropriate fuse
must be in place as indicated in the product specifications. In
NOTICE
WARNING
addition, connecting the power cable without the appropriate
fuse in place voids the product warranty.
1
Route the wiring harness to the power source and to the
device.
2
Connect the red wire to the positive (+) battery terminal, and
connect the black wire to the negative (-) battery terminal.
3
Install the locking ring and o-ring on the end of the wiring
harness.
4
Connect the wiring harness to the device by turning the
locking ring clockwise.
Power Cable Extensions
If necessary, the power cable can be extended using the
appropriate wire gauge for the length of the extension.
Item
Description
Fuse
Battery
1.8 m (6 ft.) without extension
Item Description
Splice
• 12 AWG (3.31 mm²) extension wire, up to 4.6 m (15 ft.)
• 10 AWG (5.26 mm²) extension wire, up to 7 m (23 ft.)
• 8 AWG (8.36 mm²) extension wire, up to 11 m (36 ft.)
Fuse
20.3 cm (8 in.)
Battery
20.3 cm (8 in.)
11 m (36 ft.) maximum extension
Additional Grounding Consideration
This consideration is applicable only to devices that have a
grounding screw. Not all models have a grounding screw.
This device should not need additional chassis grounding in
most installation situations. If you experience interference, the
grounding screw on the housing can be used to connect the
device to the water ground of the boat to help avoid the
interference.
Garmin Marine Network Considerations
This device can connect to additional Garmin Marine Network
devices to share data such as radar, sonar, and detailed
mapping. When connecting Garmin Marine Network devices to
this device, observe these considerations.
• A Garmin Marine Network cable must be used for all Garmin
Marine Network connections.
3
