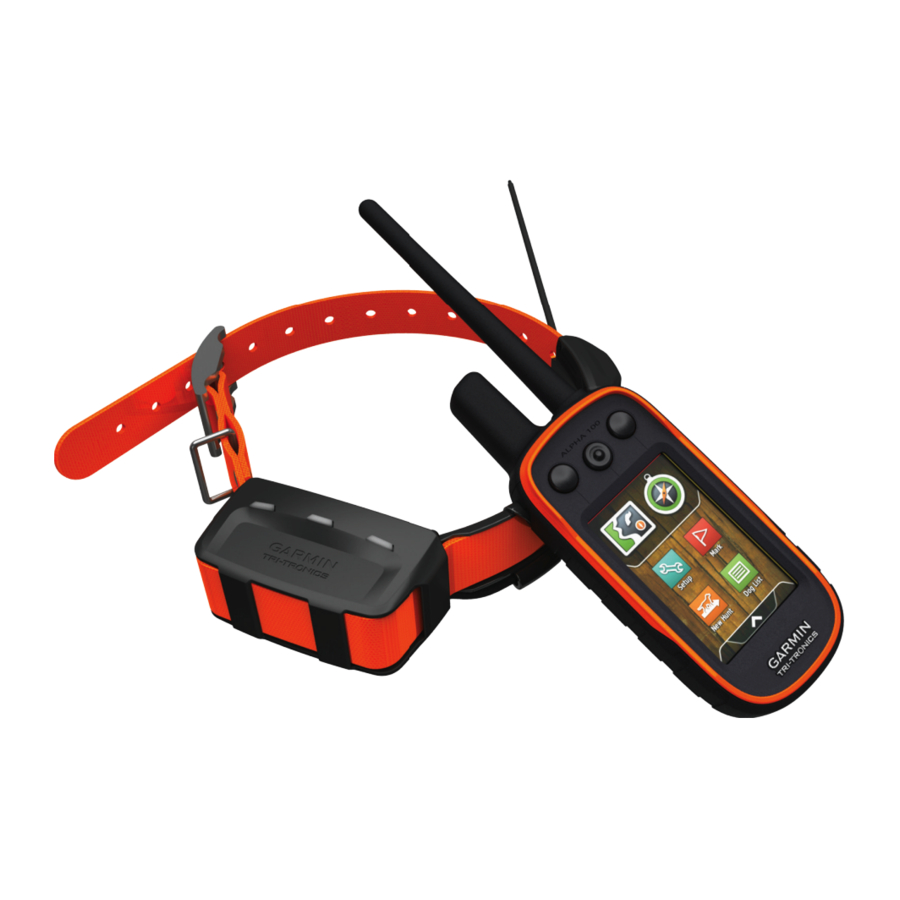
Garmin Alpha 100 Benutzerhandbuch - Seite 8
Blättern Sie online oder laden Sie pdf Benutzerhandbuch für Haustierpflegeprodukt Garmin Alpha 100 herunter. Garmin Alpha 100 26 Seiten. Multi-dog tracking gps
Auch für Garmin Alpha 100: Kurzreferenz (2 seiten), Informationen zum Produkt (4 seiten), Benutzerhandbuch (24 seiten), Benutzerhandbuch (26 seiten), Benutzerhandbuch (27 seiten), Benutzerhandbuch (24 seiten)

5
Select a color.
Changing the Dog Type
Before you can change the dog type, the collar must be turned
on and within range of the handheld device.
1
Select Dog List.
2
Select a dog.
3
Select Show Info >
> Change Dog Type.
4
Select a dog type.
Changing the Dog ID
Before you can change the dog ID, the collar must be turned on
and within range of the handheld device.
If you are experiencing interference from other collars or
handheld devices in the area, you might need to change the ID
for the dog.
1
Select Dog List.
2
Select a dog.
3
Select Show Info.
4
Select
> Change ID.
5
Select an available ID.
If another handheld device is tracking this dog, for best results,
remove the dog from the device, and use the track and train
codes
(page
3) or share wirelessly over ANT+
the dog again.
Setting Dog Alerts
You can adjust how the handheld device alerts you to certain
actions of the dog.
1
Select Setup > Dogs > Dog Alerts.
2
Select an alert.
3
Select the handheld device action for the specific alert.
4
Repeat steps 2 and 3 as needed.
Removing a Dog
1
Select Dog List.
2
Select a dog.
3
Select Remove.
Attaching the Collar on Your Dog
To prevent irritation from the contact points, remove the collar
for at least 8 hours out of every 24-hour period.
Communication with the Collar
If the collar and handheld device came in the same packaging, they were paired at the factory. If you are using a collar or handheld
device that you purchased separately, add the collar to the handheld device to establish a communication link between the collar
and handheld device
(page
The collar and handheld device must be within range to communicate with each other. The MURS/VHF radio communication range
is up to 9 miles.
The collar and handheld device use radio signals to communicate. Objects in the path of radio signals degrade the quality of the
signals. Keeping an unobstructed line of sight between the collar and handheld device produces the best communication signal.
Obstructed radio waves result in a poor signal. To achieve the best line-of-sight conditions, move to the highest elevation point in
your area (for example, on the top of a hill).
Best
4
(page
3) to add
CAUTION
3).
Remove the charging clip before putting the collar on the dog. If
you do not remove the clip, it may become detached from the
collar and become lost.
Before you put the collar on the dog, pair the handheld device
and collar
(page
3), and acquire satellite signals
1
Select an option:
• If you are training your dog with the collar, select and
install the appropriate contact points
• If you are not training your dog with the collar, install the
cap over the contact point locations
2
Place the collar in the middle of the dog's neck, directly
behind the dog's ears.
3
Position the collar with the VHF whip antenna pointing up,
the GPS antenna facing up, and the LEDs facing forward.
When using the contact points, they can be positioned
anywhere along the dog's neck. The best location for the
contact points is in the front of the neck.
4
Tighten the strap so that it is snug around the dog's neck.
5
If the strap is too long, cut off the excess, leaving at least 3
inches to spare.
NOTICE
(page
(page
6).
(page
6).
Dog Collar Device Setup
2).
