Brother Business Smart MFC-J4510dw Handbuch zur Schnelleinrichtung - Seite 4

Blättern Sie online oder laden Sie pdf Handbuch zur Schnelleinrichtung für Drucker Brother Business Smart MFC-J4510dw herunter. Brother Business Smart MFC-J4510dw 47 Seiten. Quick setup guide - spanish
Auch für Brother Business Smart MFC-J4510dw: Handbuch (36 seiten), Handbuch (22 seiten), Handbuch zur Produktsicherheit (17 seiten), Handbuch (13 seiten), Handbuch (22 seiten), Handbuch zur Schnelleinrichtung (47 seiten), Handbuch (18 seiten), Handbuch zur Schnelleinrichtung (47 seiten), Broschüre & Specs (4 seiten), Handbuch zur Produktsicherheit (20 seiten), Spezifikationen (2 seiten), Schnellstart-Handbuch (29 seiten), Handbuch zur Produktsicherheit (25 seiten), (Spanisch) Guia De Web Connect Handbuch (38 seiten), (Spanisch) Handbuch (24 seiten), (Englisch) Handbuch zur Produktsicherheit (16 seiten), (Spanisch) Handbuch (11 seiten), (Englisch) Kurzanleitung zur Konfiguration (47 seiten)
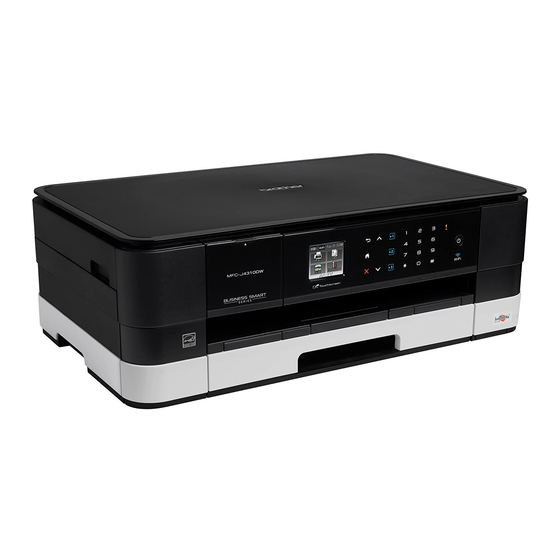
Brother Business Smart MFC-J4510dw Handbuch zur Schnelleinrichtung
3
Connect the power cord
and telephone line
WARNING
• The machine must be fitted with an earthed
plug.
• Since the machine is grounded through the
power outlet, you can protect yourself from
potentially hazardous electrical conditions on
the telephone network by keeping the power
cord connected to your machine when you
connect it to a telephone line. Similarly, you
can protect yourself when you want to move
your machine by disconnecting the telephone
line first and then the power cord.
IMPORTANT
DO NOT connect the USB cable yet (if you are
using a USB cable).
a
Connect the power cord.
(Example for Australia)
NOTE
To prolong print head life, provide the best ink
cartridge economy and maintain print quality, we
do not recommend frequently unplugging the
machine and/or leaving the machine unplugged
for extended periods of time. We recommend
using
to power down the machine. Using
allows minimal power to the machine, which
ensures periodic cleaning of the print head.
4
b
Lift the scanner cover until it locks securely into
the open position.
c
Connect the telephone line cord.
Connect one end of the telephone line cord to
the socket of the machine marked LINE.
Carefully guide the telephone line cord into the
cable channel and out the back of the machine.
Connect the other end to a modular wall
socket.
IMPORTANT
The telephone line cord MUST be connected to
the socket of the machine marked LINE.