Brother QL 570 - P-Touch B/W Direct Thermal Printer Handbuch für Einrichtung und Betrieb - Seite 17

Blättern Sie online oder laden Sie pdf Handbuch für Einrichtung und Betrieb für Etikettenhersteller Brother QL 570 - P-Touch B/W Direct Thermal Printer herunter. Brother QL 570 - P-Touch B/W Direct Thermal Printer 43 Seiten. Professional label printer
Auch für Brother QL 570 - P-Touch B/W Direct Thermal Printer: Broschüre (4 seiten), Benutzerhandbuch (36 seiten), Benutzerhandbuch (26 seiten), Benutzerhandbuch (40 seiten), Handbuch für Einrichtung und Betrieb (45 seiten), Benutzerhandbuch (2 seiten), Software-Installationshandbuch (15 seiten)
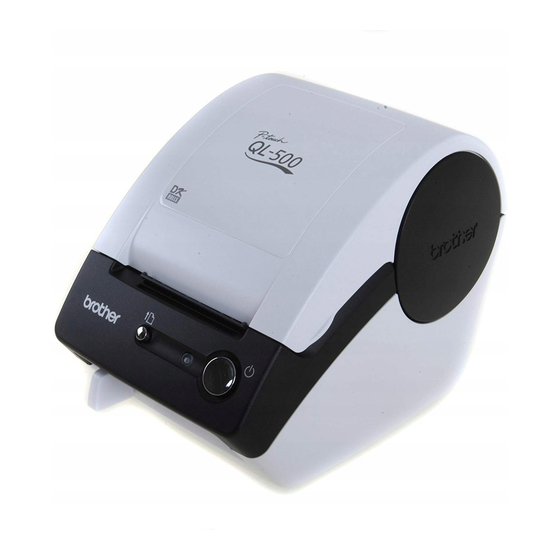
Brother QL 570 - P-Touch B/W Direct Thermal Printer Handbuch für Einrichtung und Betrieb

2. When using Mac OS

This section explains how to install P-touch Editor 5.0, Fonts, Auto Format Templates, Clip
Art, and the printer driver. After the driver is installed the driver configuration is explained.
Until the driver installation is completed, do not connect the machine to your
®
Macintosh
. Make sure the USB cable is not connected until you are instructed to
connect it.
Below is the example for Mac OS
Read "XXX" as your printer name. The printer names in the following screens may differ
from your purchased printer name.
1
Start up your Macintosh
drive.
Double click the "QL_Series" (CD-ROM) icon.
2
Click [Mac OS X] folder and double click [P-touch Editor 5.0 Installer].
Follow the on-screen instructions.
3
After the installation is completed and
the screen shown right is displayed,
click [Done].
The installation of P-touch Editor 5.0 is
completed.
Next, install the printer driver.
4
Double click [Brother QL-XXX Driver.pkg] in [Mac OS X] folder.
The Driver Installer starts up. Follow the on-screen instructions.
5
When the installation is completed and
the message "Click Restart to finish
installing the software" is displayed,
click [Restart].
The Macintosh
The installation of the printer driver is completed.
®
®
X 10.4.9. In the following steps, you will see QL-XXX.
®
, and insert the CD-ROM into the CD-ROM
®
is restarted.
15

STEP

1
STEP
2
STEP
3
STEP
4