Fujitsu fi 5750C - Document Scanner Erste Schritte - Seite 39

Blättern Sie online oder laden Sie pdf Erste Schritte für Scanner Fujitsu fi 5750C - Document Scanner herunter. Fujitsu fi 5750C - Document Scanner 40 Seiten. Image scanner
Auch für Fujitsu fi 5750C - Document Scanner: Handbuch für Installationsverfahren (7 seiten), Handbuch für Installationsverfahren (9 seiten), Installationsverfahren (3 seiten), Spezifikationen (2 seiten), Handbuch "Erste Schritte (42 seiten), Broschüre & Specs (2 seiten), Gebrauchsanweisung (11 seiten), Anweisungen zum Austausch von Verbrauchsmaterialien und zur Reinigung (19 seiten), Anweisungen zur Reinigung (2 seiten), Reinigung und Wartung (39 seiten), Anweisungen zur Reinigung (2 seiten)
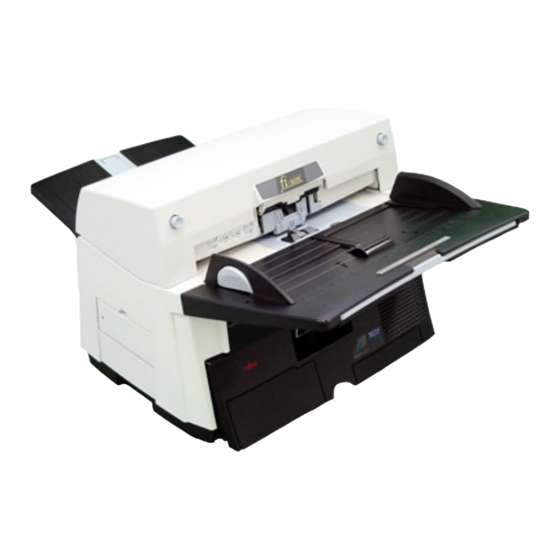
Fujitsu fi 5750C - Document Scanner Erste Schritte
Appendix 4 Setting the
position of the
ADF
As the factory default, ADF of fi-5750C is
fixed with ADF lock screws. Be sure to remove
the screws before changing the position of the
ADF.
ADF can be set to the following three posi-
tions:
Type 1: Traditional
-Traditional style of previous FUJITSU scanner
products
-For operators accustomed to previous FUJITSU
scanners
Type 2: Standard
- Small foot print
- For right-handed operators
Type 3: Reversed
- Small foot print
- For left-handed operators
Type 2 and 3 are available only when the ADF
is set to the center position. Before changing
the ADF position to Type 2 or 3, slide the ADF
to the center position. When the ADF is in
Type 2 position, you can change the position to
Type 3 by rotating the ADF in 180 degrees and
vice versa.
For details on setting the ADF, refer to 2.2
"Setting the ADF" of "fi-5750C Operator's
Guide" on Manual CD-ROM.
CAUTION
• Please rotate the ADF after you set
ATTENTION
the stacker upright.
• When you change the position of
the ADF, do not rotate it over 180
degrees, other wise the ADF may
be damaged.
Take care not to pinch your
fingers when rotating the ADF.
AP-9