AEG ARCTIS Betriebsanleitung & Installationshandbuch - Seite 11

Blättern Sie online oder laden Sie pdf Betriebsanleitung & Installationshandbuch für Kühlschrank AEG ARCTIS herunter. AEG ARCTIS 28 Seiten. Built-in fridge-freezers
Auch für AEG ARCTIS: Betriebsanleitung (32 seiten), Betriebsanleitung (28 seiten), Betriebsanleitung (40 seiten), Betriebsanleitung (28 seiten), Gebrauchsanweisung (16 seiten), Betriebsanleitung (36 seiten), Betriebsanleitung (36 seiten), Betriebsanleitung (26 seiten), Betriebsanleitung (36 seiten), Betriebsanleitung (27 seiten), Betriebsanleitung (34 seiten), Benutzerhandbuch (24 seiten), Installationsanleitung Handbuch (11 seiten), Betriebsanleitung (29 seiten), Betriebsanleitung (23 seiten), Installationsanleitung Handbuch (25 seiten), Installationsanleitung Handbuch (24 seiten)
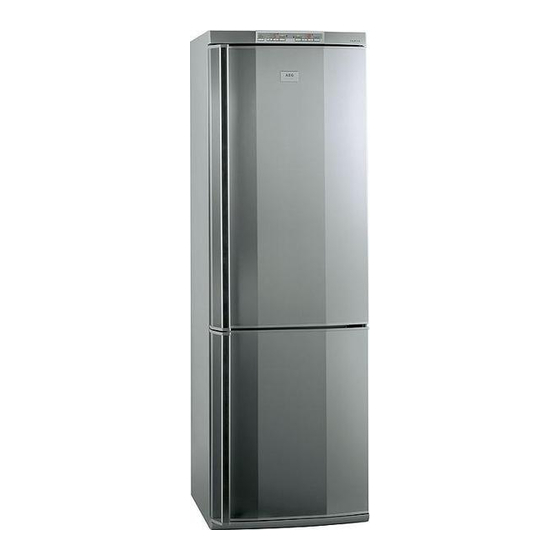
AEG ARCTIS Betriebsanleitung & Installationshandbuch

Electrical Connection

A properly installed socket outlet with earthing contact is required for
electrical connection. Electrical fuse protection must be of at least 10
ampere.
If the outlet socket is no longer accessible after installation of the
appliance, appropriate measures must be taken during electrical instal-
lation to assure that the appliance can be disconnected from the mains
(e.g. fuse, circuit breaker, non-operate current safety-switch or the like,
with a contact opening of at least 3 mm).
0
1. Before initial start-up, refer to the appliance rating plate to ascertain if
supply voltage and current values correspond with those of the mains
at the installation location.
e.g.:
AC 220 ... 240 V 50 Hz or
(i.e. 220 to 240 volts alternating current, 50 Hertz)
The rating plate is inside the appliance at the left.
Warning: To avoid potential danger, if the mains connection lead of
this appliance is damaged, it must be replaced by our customer service
representative or a person with similar qualifications.
Warning: Under no circumstances should the appliance be connected
to electronic "power saving plugs" or to a.c.-d.c. converters which con-
vert direct current to 230 V alternating current (e.g., solar installations,
ship networks)

Reversing The Door

The door hinges can be changed from right (as supplied) to left if
required to suit the location where the appliance is installed.
1
Warning! Unplug from the mains before reversing the door.
Open the door and remove the
plinth cover to the front. Move
the door bearing cover on the
plinth cover from the left to the
right. Close the door.
818 2113-00/4
220 ... 240 V~50 Hz
11